Today I’m going to share with you my favourite project, the pop-up box Card!
I love pop-up boxes as they are quite simple to construct yet make a big impression!
There are many variations on the box card, but below is the technique and measurements I use for mine.
Follow along and make your own as shown below in 10 easy steps..
For this project you will need:
- 1 piece of 250GSM or higher cardstock (A4 or 30x30cm size)
- Decorative paper (1 x double sided 30x30cm sheet or equivalent)
- Glue roller tape or double sided tape
- Scissors or a cutter
- A scoring board
- Collectables/ Ephemera/ Die Cut shapes (for decoration)
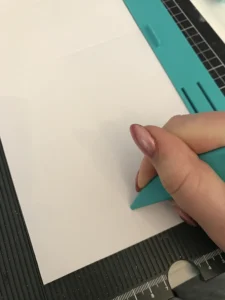
Step 1:
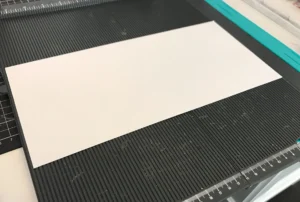
- Take a piece of 30x30cm or A4 sized card (My favourite is Kaisercraft premium cardstock, but anything over 250gsm will work)
- Cut your card to 14cm wide and simply leave the length as is! (29.7cm (A4) or 30cm)
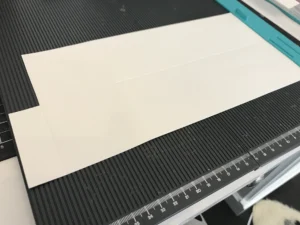
Step 2:
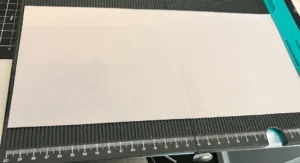
- Using your scoring board, score your card (positioned landscape direction on your board) at 7cm, 14cm, 21cm & 28cm (this will create 4 even rectangles with 1 additional thin rectangle on the end)
- Spin your card around and score longways (portrait) at 7cm through the first 2 scores (7cm & 14cm) then stop when you get to the 3rd score line at 21cm.

Step 3:
- As I prefer the back panel of the box to remain standing up, I do not score through the final ‘rectangle’ (21-28cm), but instead spin the card around and score at 7cm in the small 2cm scored section as shown below (and leave the 21-28cm rectangle blank).
- (If you would like the rear of your box to fold down rather than stand up, simply score the whole 30cm length rather than skipping the 21-28cm section)
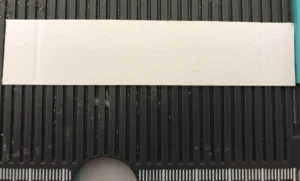
Step 4:
- Take your scissors and cut away the top left corner 3.5x2cm small scored section at the end of the card.
- The remaining bottom ‘flap’ section will be what joins your box together later.
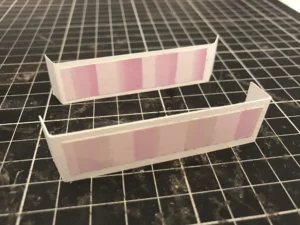
Step 5:
- To create the inner ‘tabs’ for the card, using a piece of leftover cardstock (the same as your box) cut 3 pieces at 2cm wide x 9cm long.
- Score each piece at 1cm & 8cm (the centre section of 7cm will fit perfectly inside your box, with 1cm on each side to attach to the sides of the box).
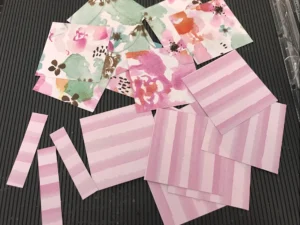
Step 6:
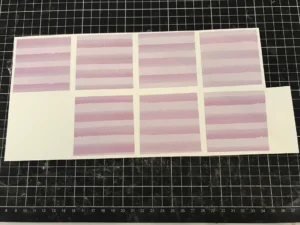
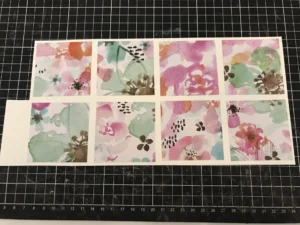
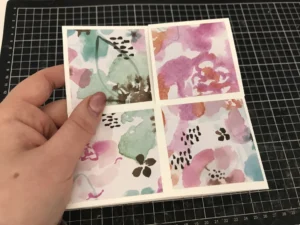
- Now for the fun part! – Select your decorative papers for the box!
- Cut 8 x 6.5×6.5cm sized paper squares for the outer and 8 x 6.5×6.5cm sized paper squares for the inner (I suggest using a more decorative paper on the outer and plainer on the inner)
- If you use a double sided 30x30cm page, as I have done below, you can get enough to cover all sides of your box from the one sheet.
- Cut an additional 3 x 6.5×1.5cm strips out of the same paper as used for the inner box- these are for decorating your ‘tabs’ so they blend in with the box.
Step 7:
- Glue down each square/ strip of decorative paper to your card and tabs, except for the lower left hand corner of the ‘inner’ side of your box (as your ‘flap’ will attach here when the box is assembled – we will stick this one on after assembly.
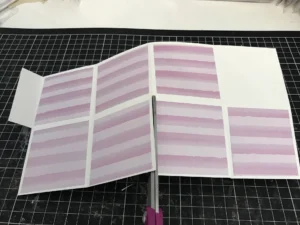
Step 8:
- With your scissors or cutter, cut down the three score lines on the top half of your card (the same side as which you cut the end flap off) stopping at the centre intersecting score line.
Step 9:
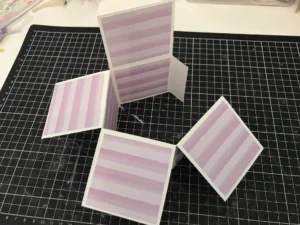
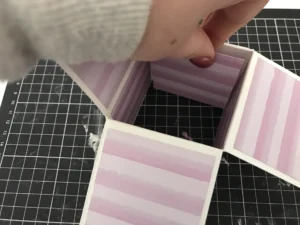
- Now you can fold your card and see it take shape!
- Fold and burnish each of the remaining uncut score lines to form your box shape.
- Align the joining ‘flap’ to the inside of the matching box section to complete the ‘box’ assembly. Ensure the edges match up neatly. Use a strong glue or double sided tape to attach the flap to the side panel.
- Once your tab is adhered, stick on the remaining square of decorative paper to cover the inner square and flap.
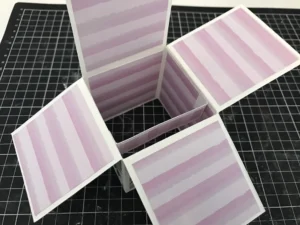
Step 10:
- Glue in the tabs to the box ensuring the scores are folded so the decorative paper is facing the front of the card and the ‘flaps’ toward the rear.
- Use a strong glue or double sided tape, applied only to the outside of the 1cm folded section and attach the tabs so they are evenly spaced within your box.
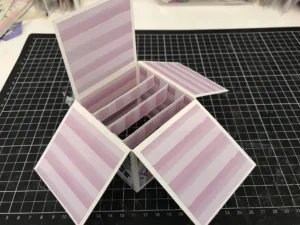
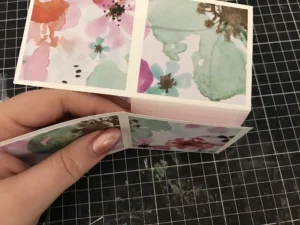
Ta-Da! Well done! You have created your box!
To see your card fold flat simply squeeze the ‘folds’ gently to one side.
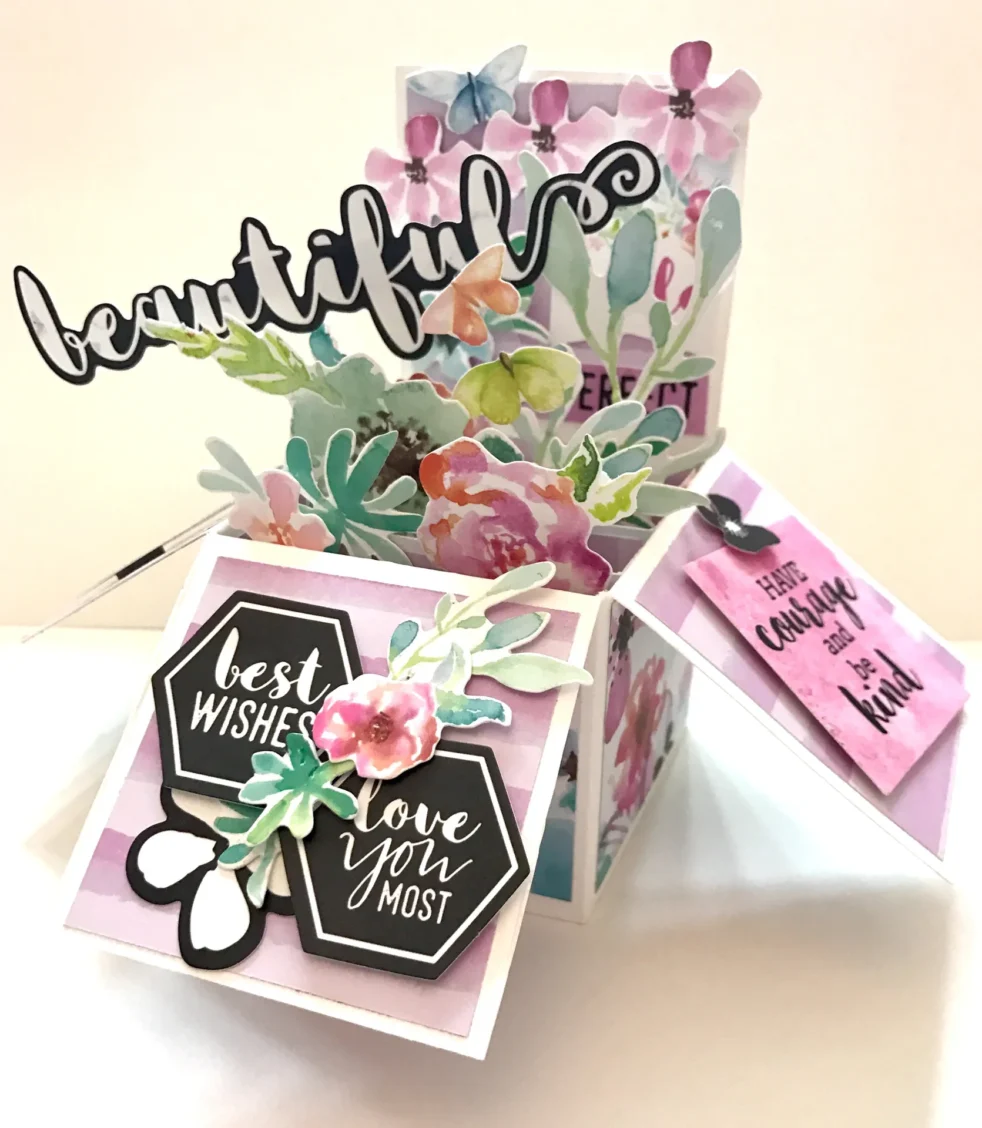
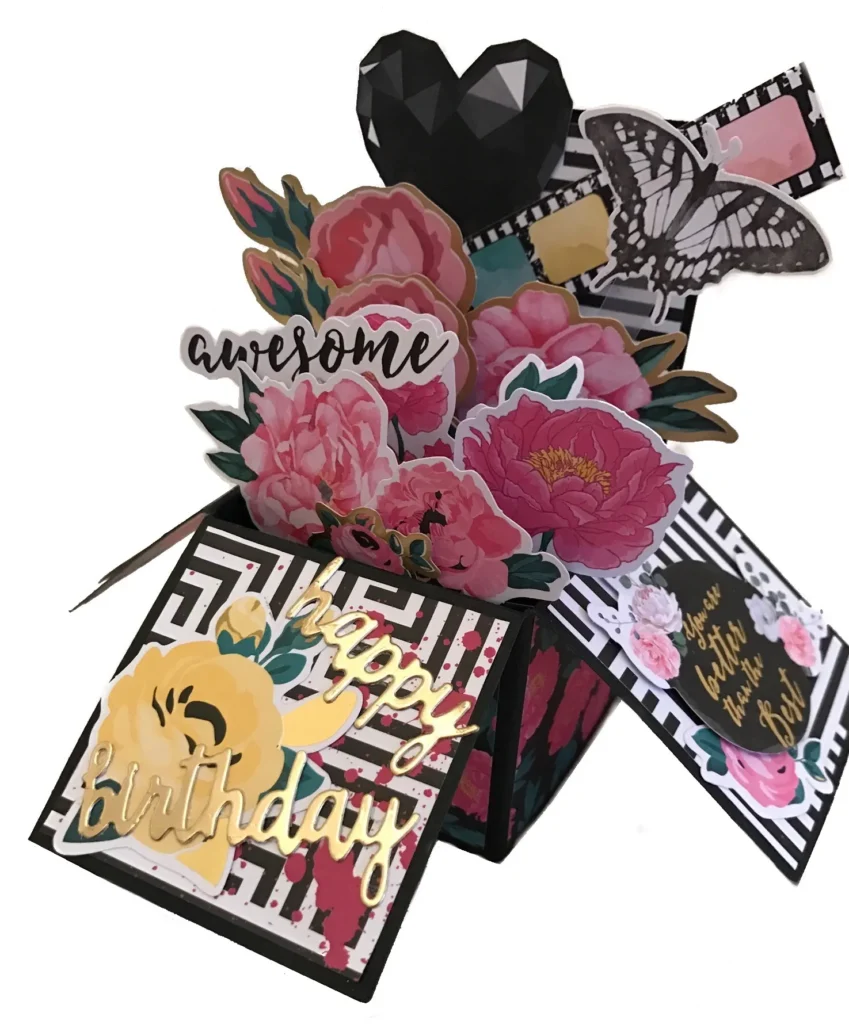
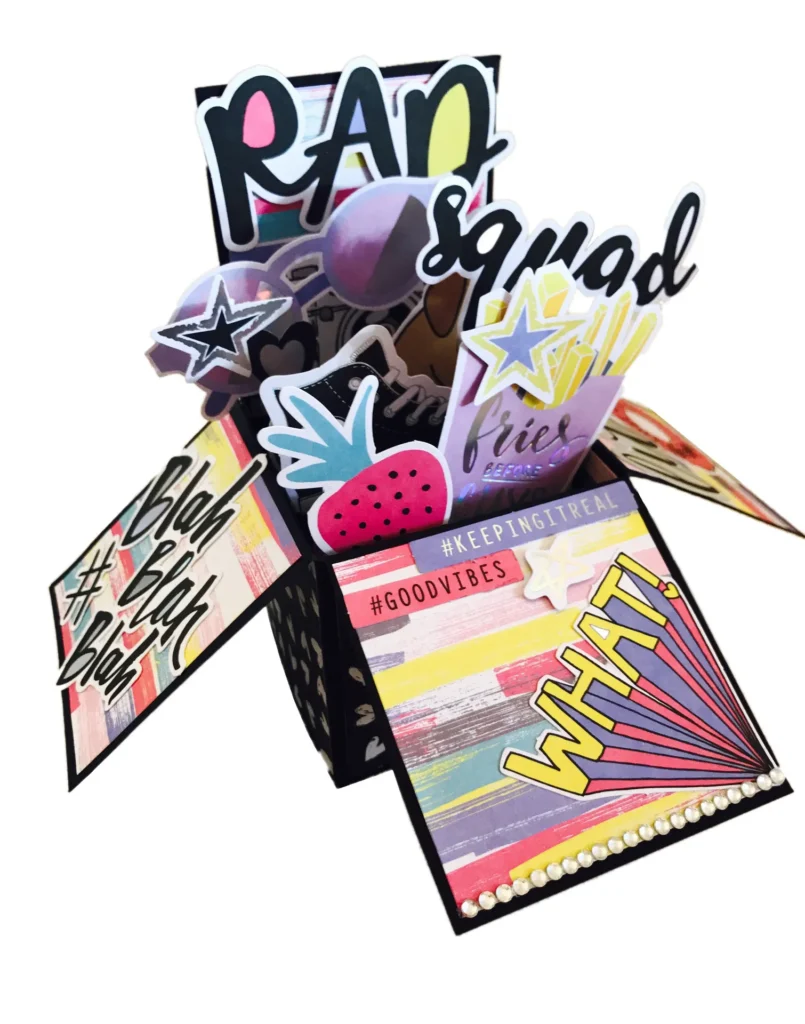
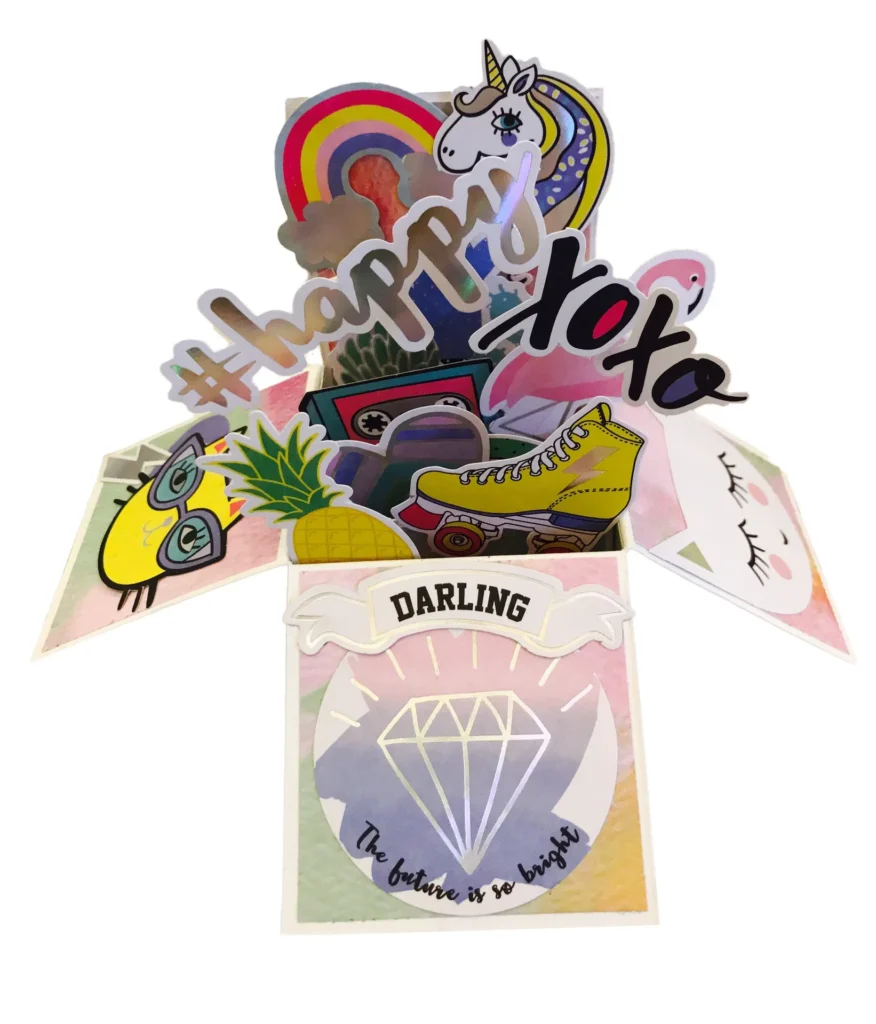
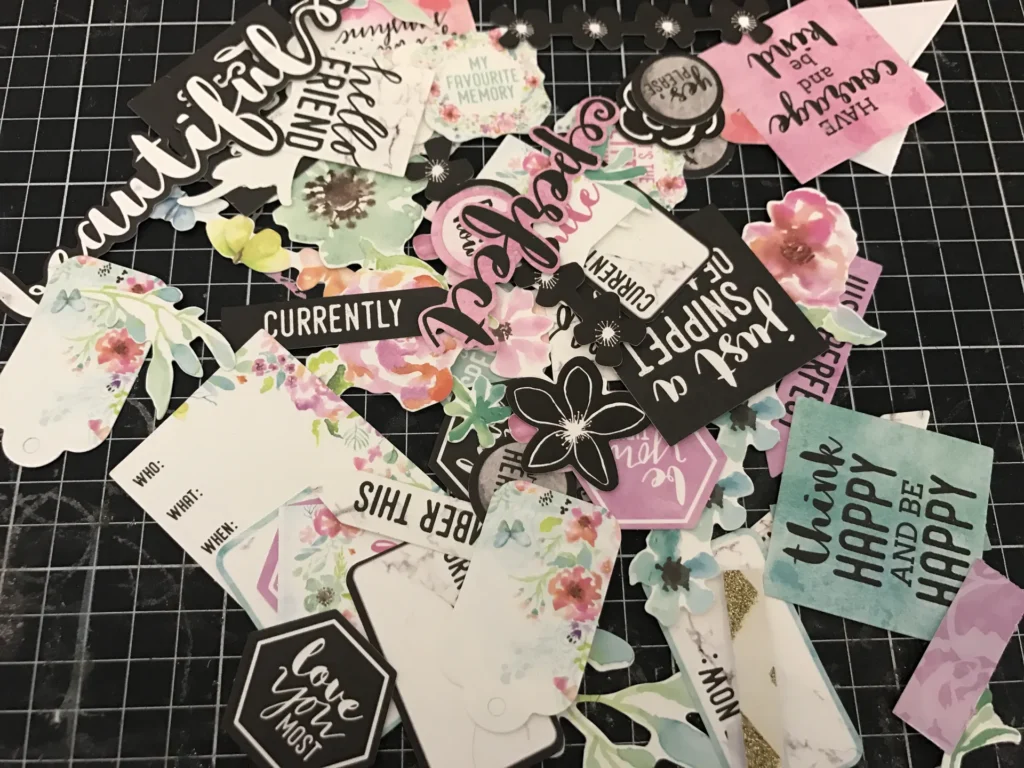
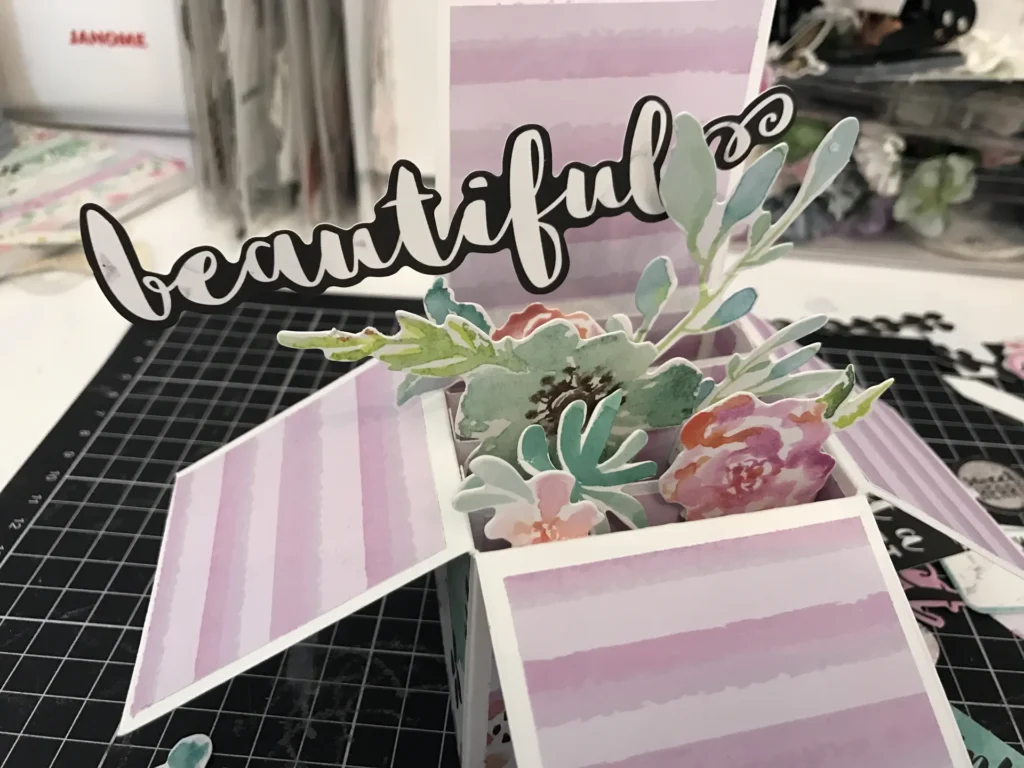
To decorate, you can use collectables/ ephemera which match your decorative papers, or create your own embellishments using stamps and dies!
I used Kaisercraft’s ‘Wildflower’ papers and collectables on my card here and I love how it came out!
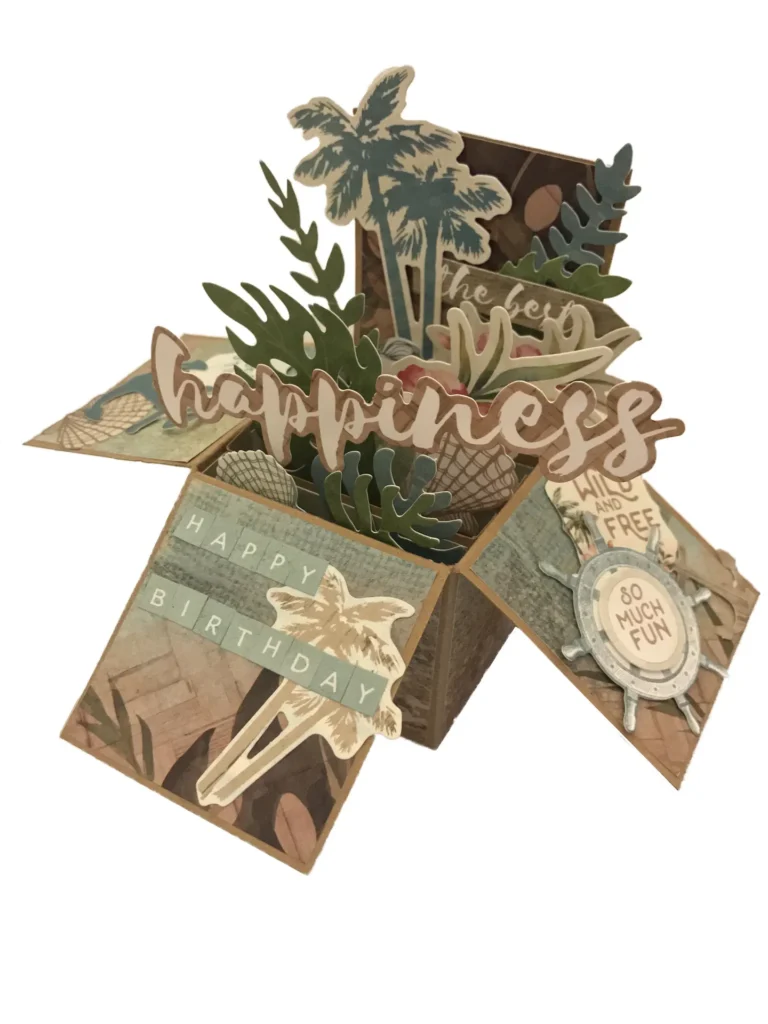
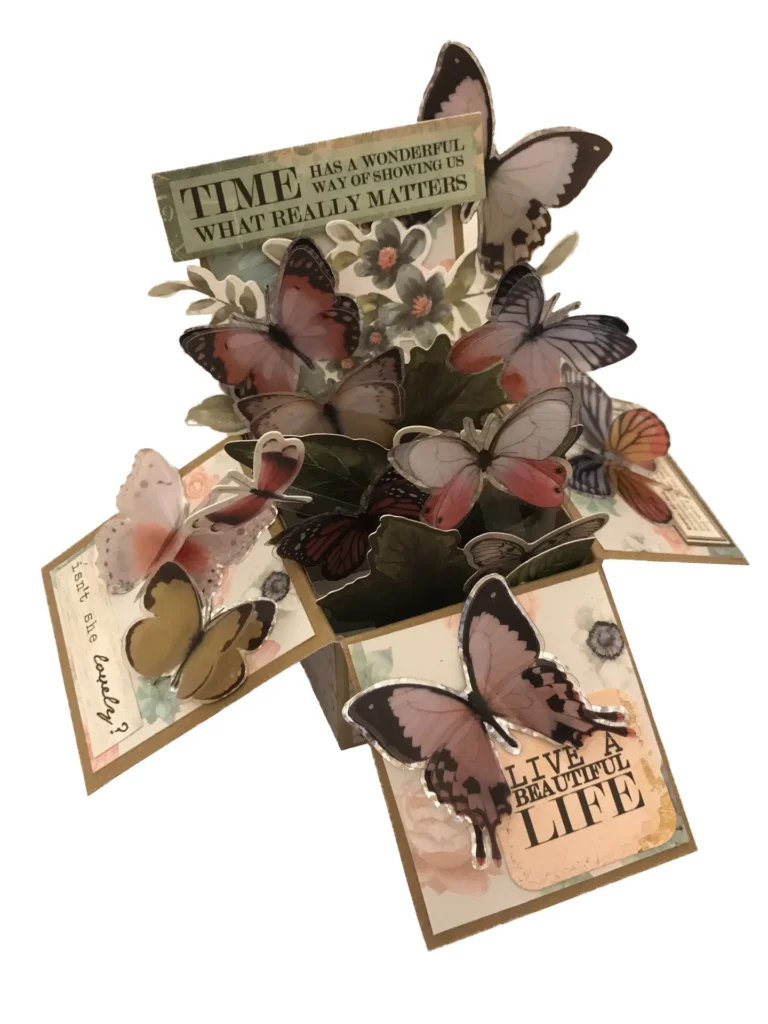
Here are some more of my other finished pop-up box cards all made using the above method!..