Today I’m going to show you a quick, easy, super cute card you can whip up in no time.
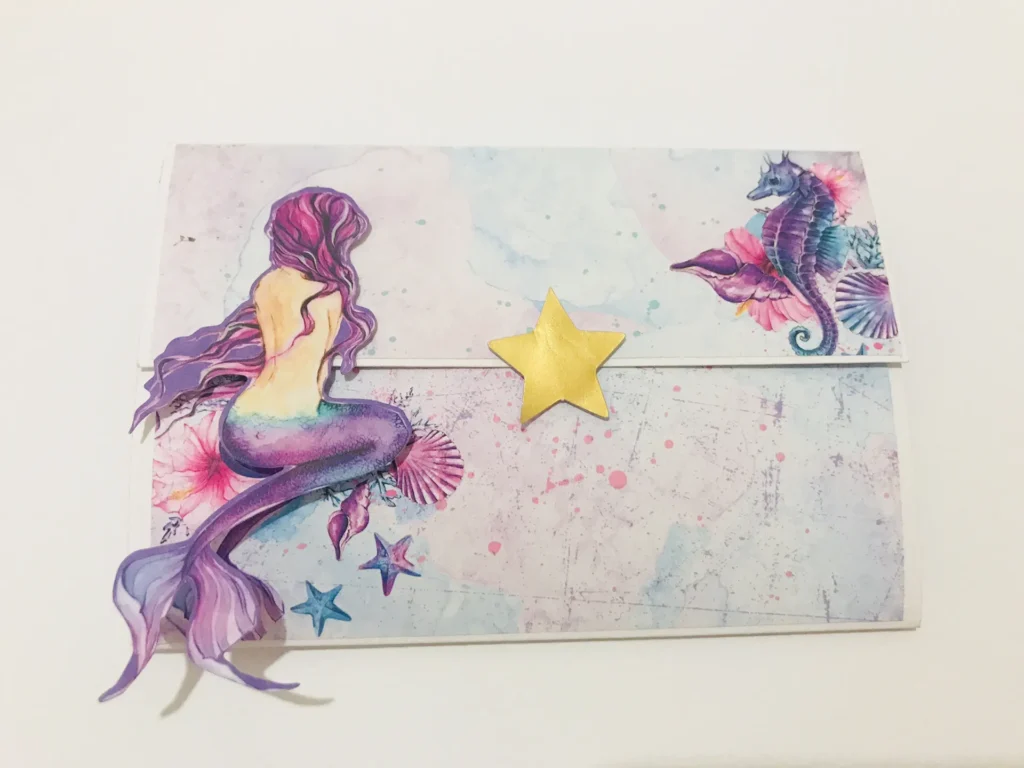
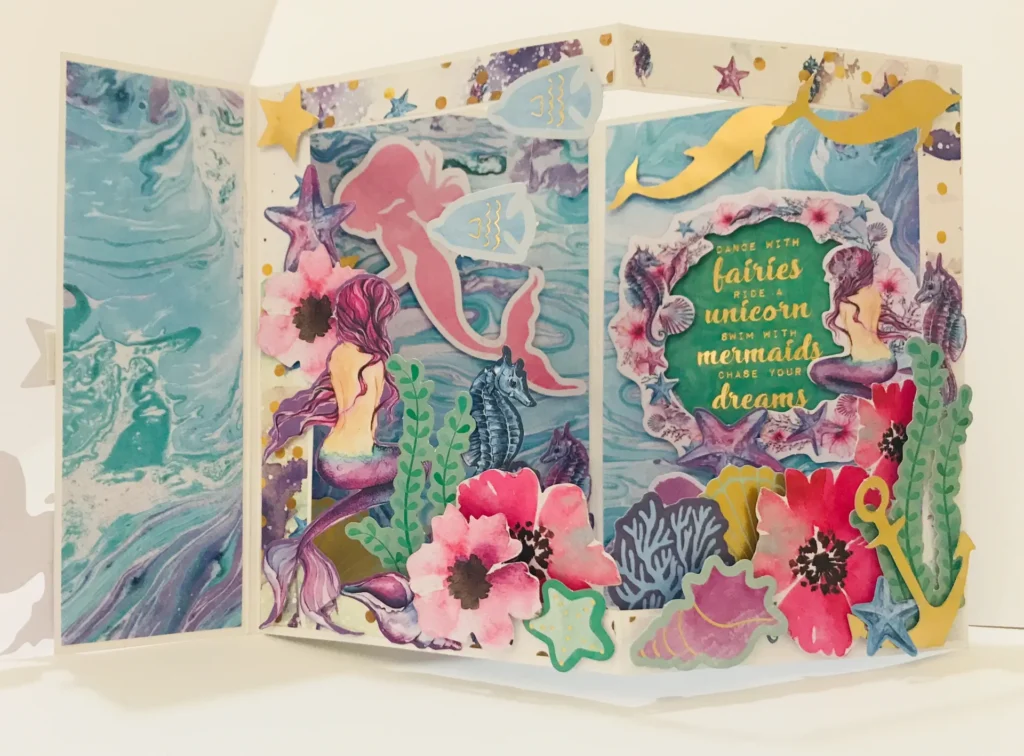
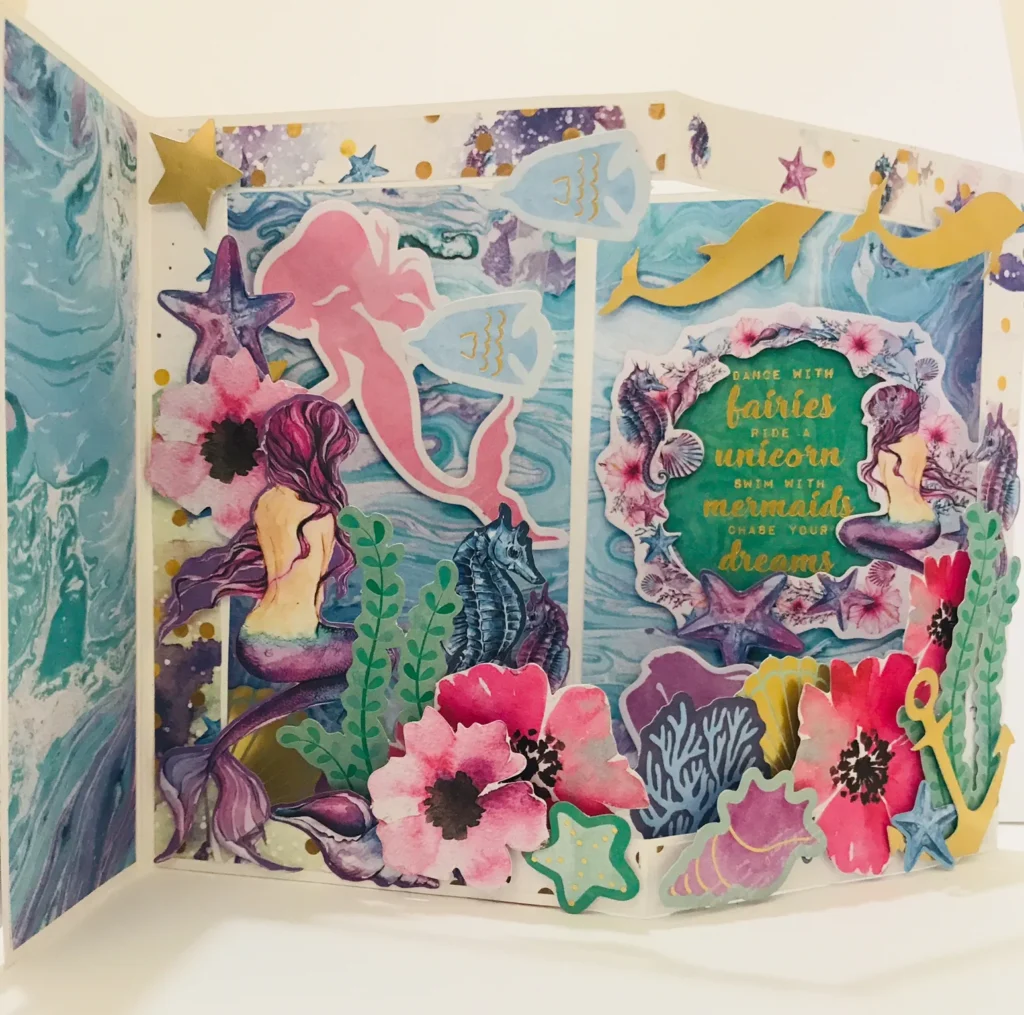
This card folds down flat, and the best bit is the outside becomes the envelope so does away with the need to make one! When open, you will love the 3 dimensional look which can be decorated in so many different ways!
(Sorry for the poor lighting in the tutorial pics – My Lair is still under repair following the recent laundry flood!)

For this project you will need:
- 1 x sheet of 30x30cm card stock
- Scoring board
- Cutter, knife and scissors
- Ruler
- Glue
- Decorative papers
- Die cuts/ Ephemera
Ready?.. Let’s Go!
Step One:
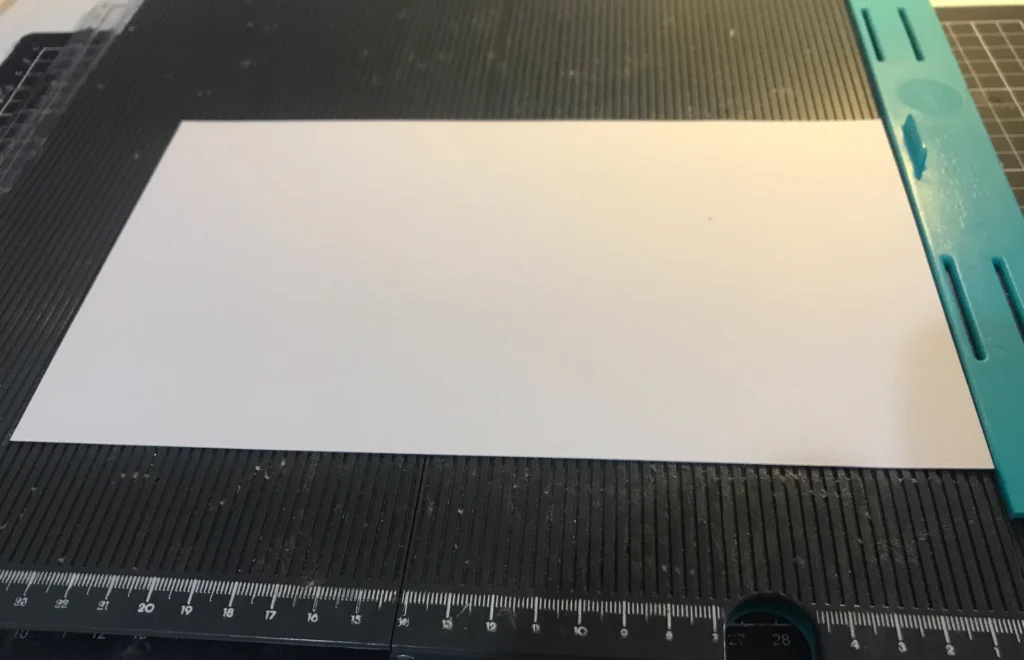
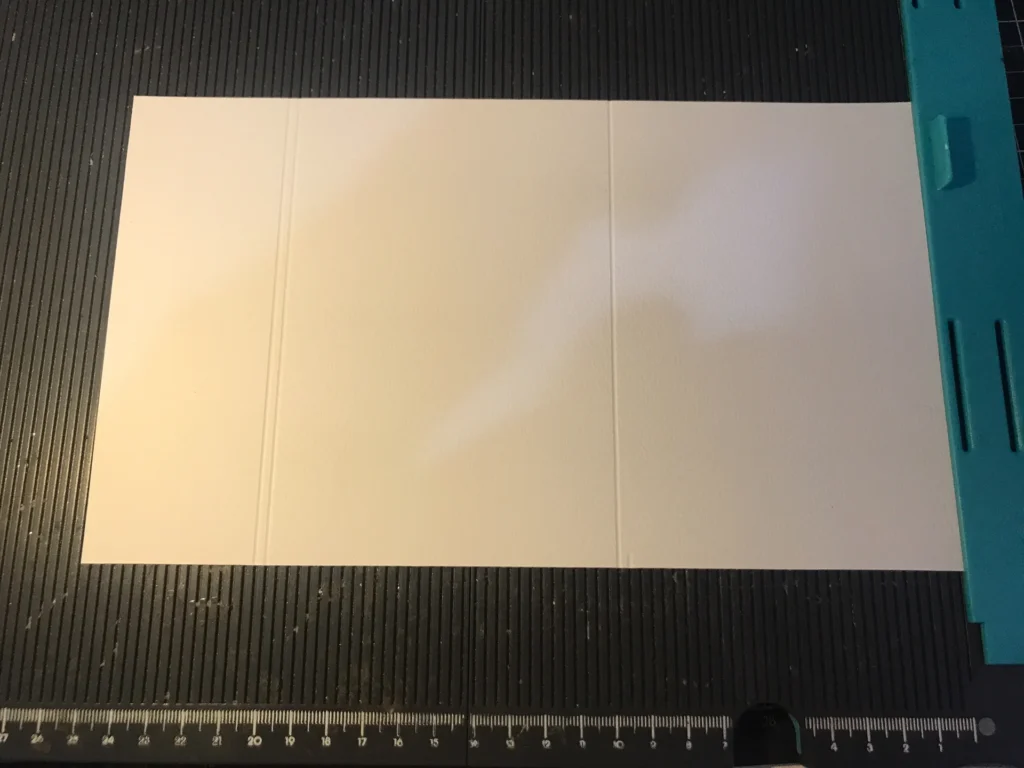
- Cut 1 piece of card stock to 25.5 x 15cm
- With your card in landscape position. score vertically at 10cm, 20cm and 20.5cm
Step Two:
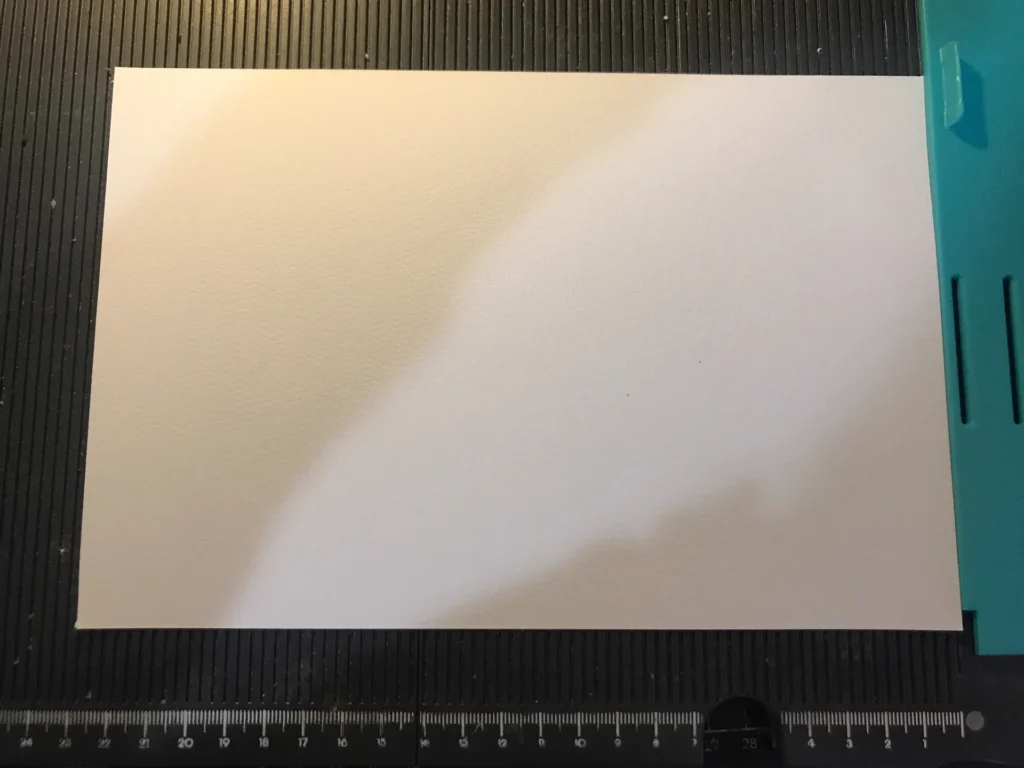
- Cut your remaining piece of card stock to 23 x 15cm
- With your card in landscape position, score vertically at 1.5cm and 21.5cm
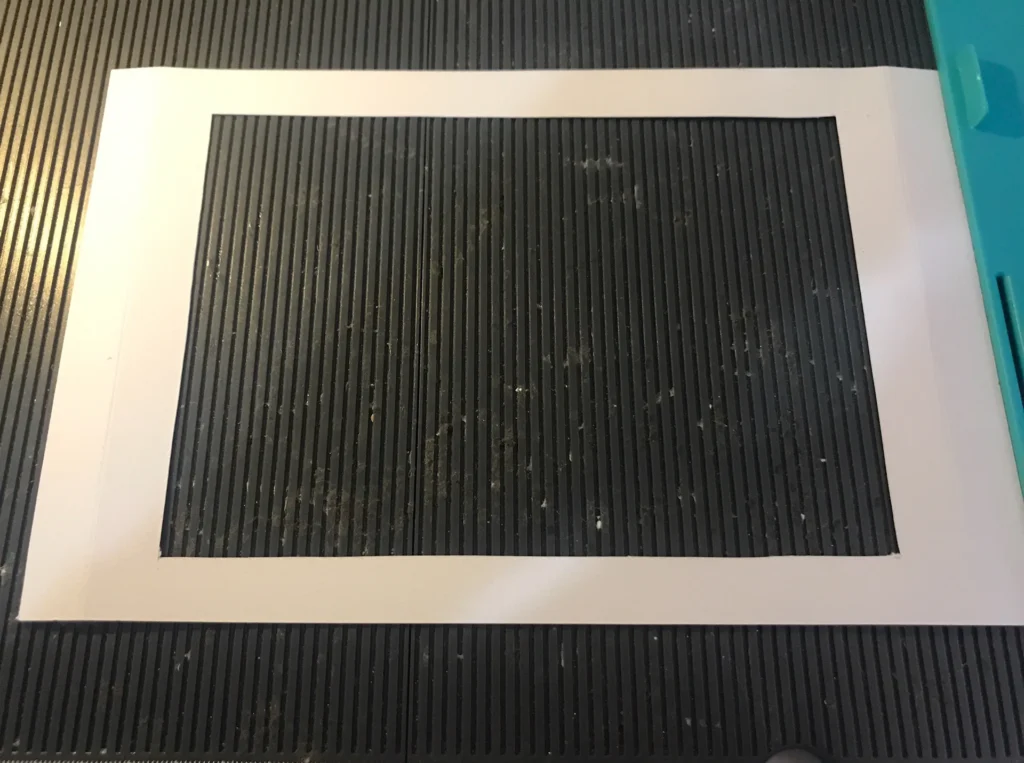
Step Three:
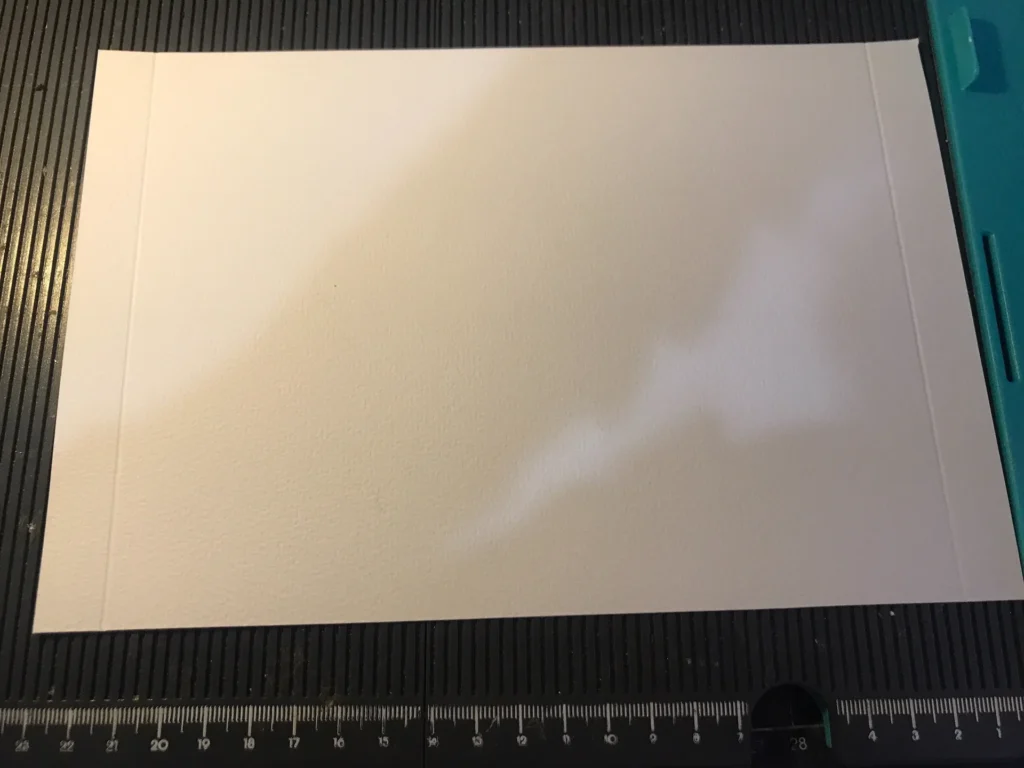
- On your 23cm piece, you now need to cut out the centrefold the rectangle forming your pop out frame – mine is 1.5cm (but you could make this any width you like)
- Measure 1.5cm from the two horizontal edges, and 1.5cm in from the vertical score lines then cut out this centre rectangle
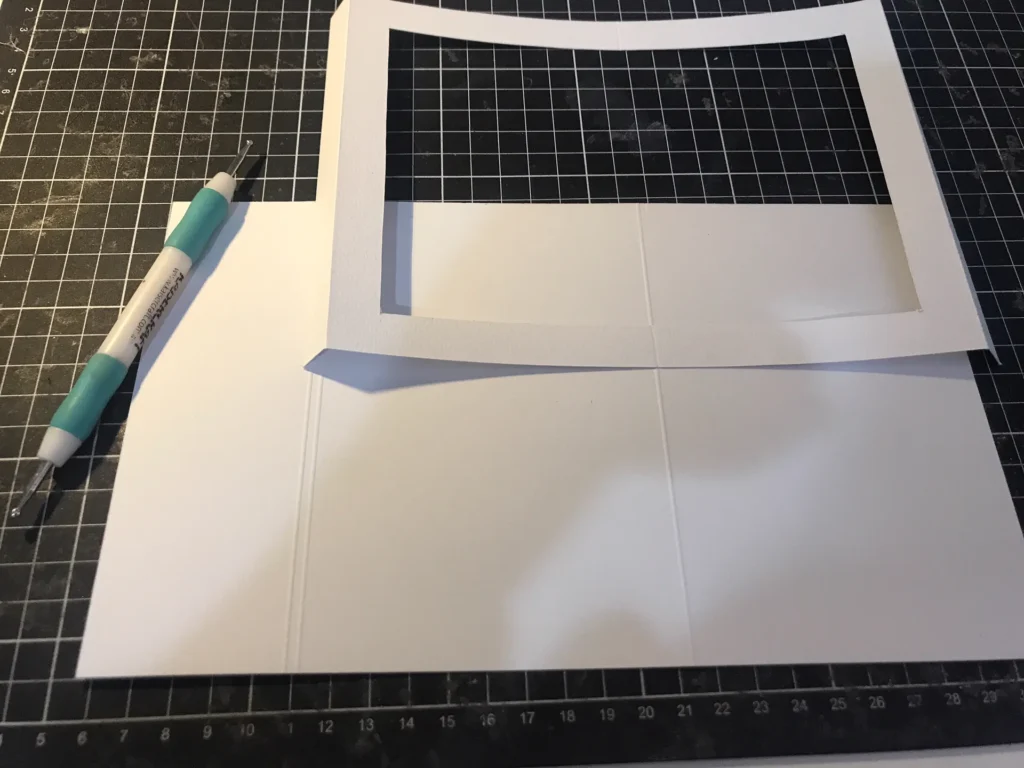
Step Four:
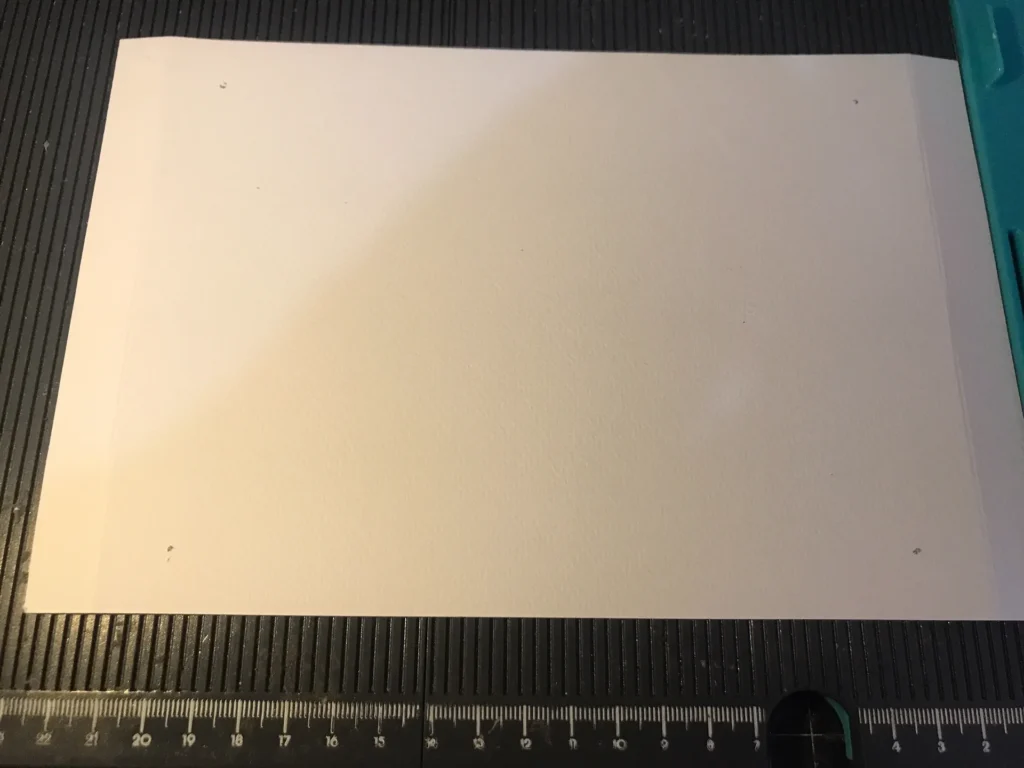
- Fold and mountain burnish the two score lines on your 23cm piece.
- Apply glue to the ‘flaps’ and adhere over the 20cm section of your 25.5cm piece (it should fit perfectly, leaving the 5.5cm piece free)
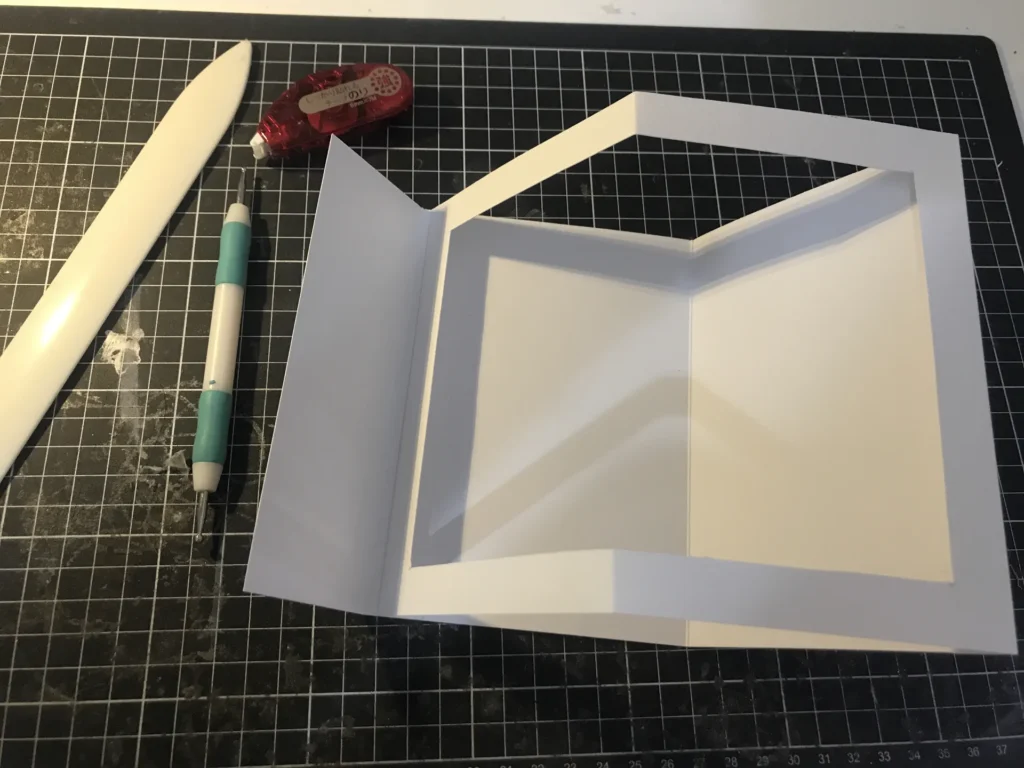
Step Five:
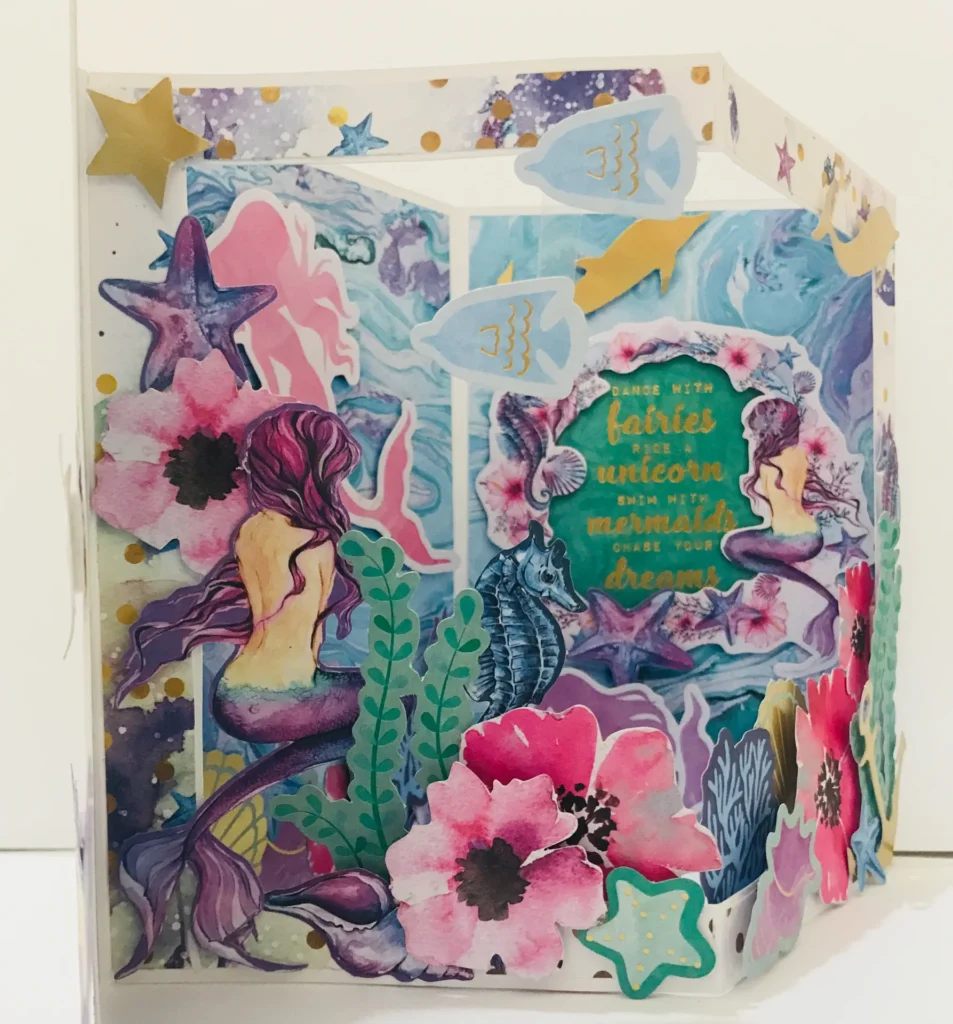
- Close your card and burnish all score lines forming the folded shape (hint: your pop out piece should fit neatly inside the card and not be visible when closed).

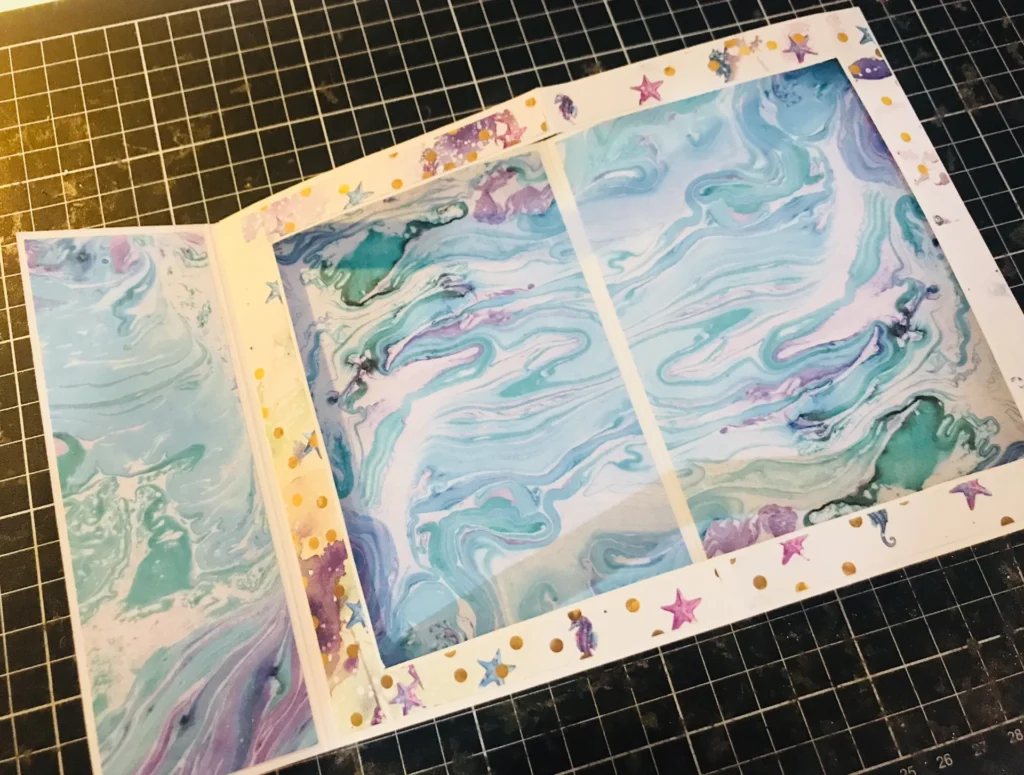
Step Six:
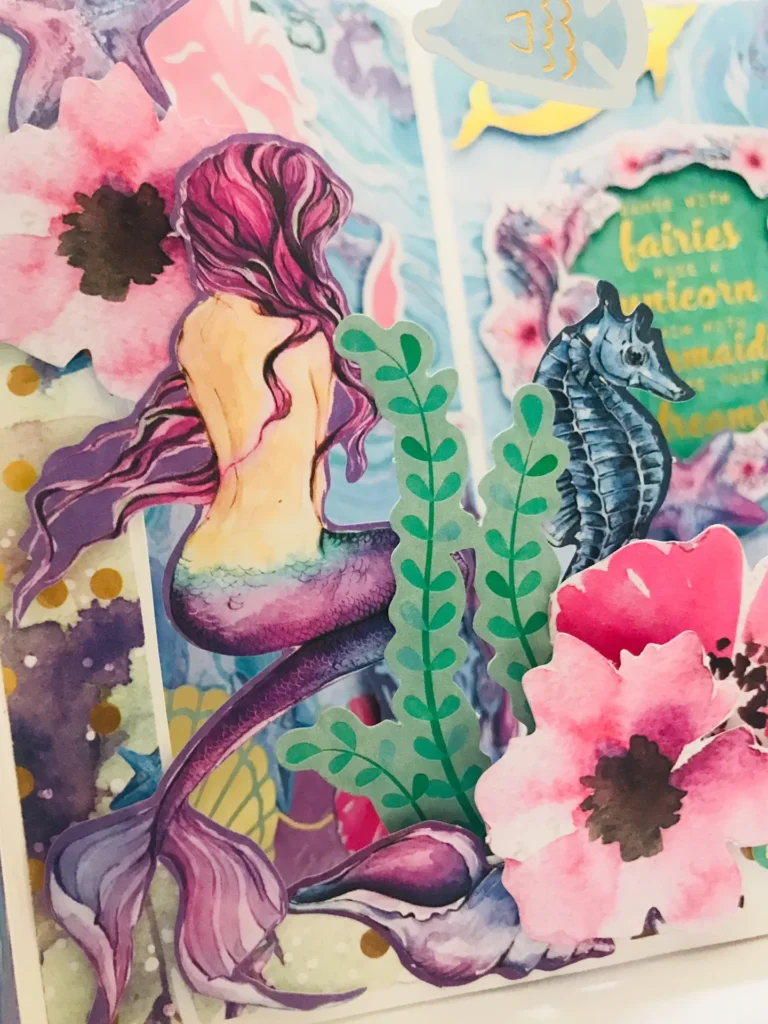
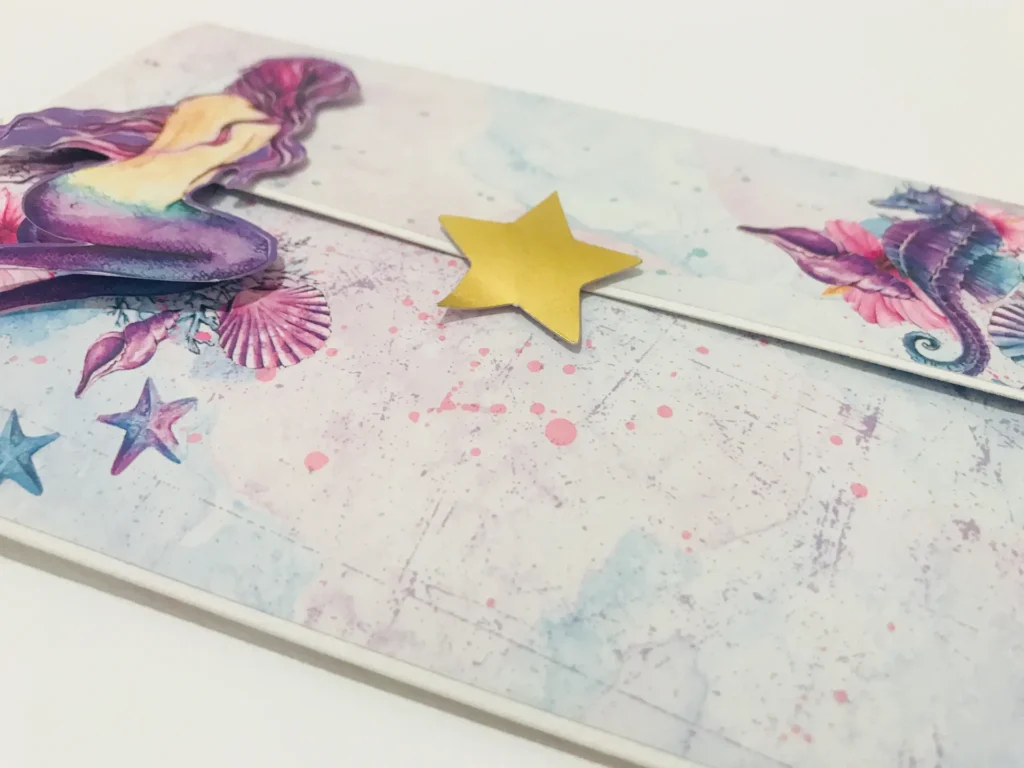
- Decorate the inner and outer of your card with your decorative papers
Step Seven:
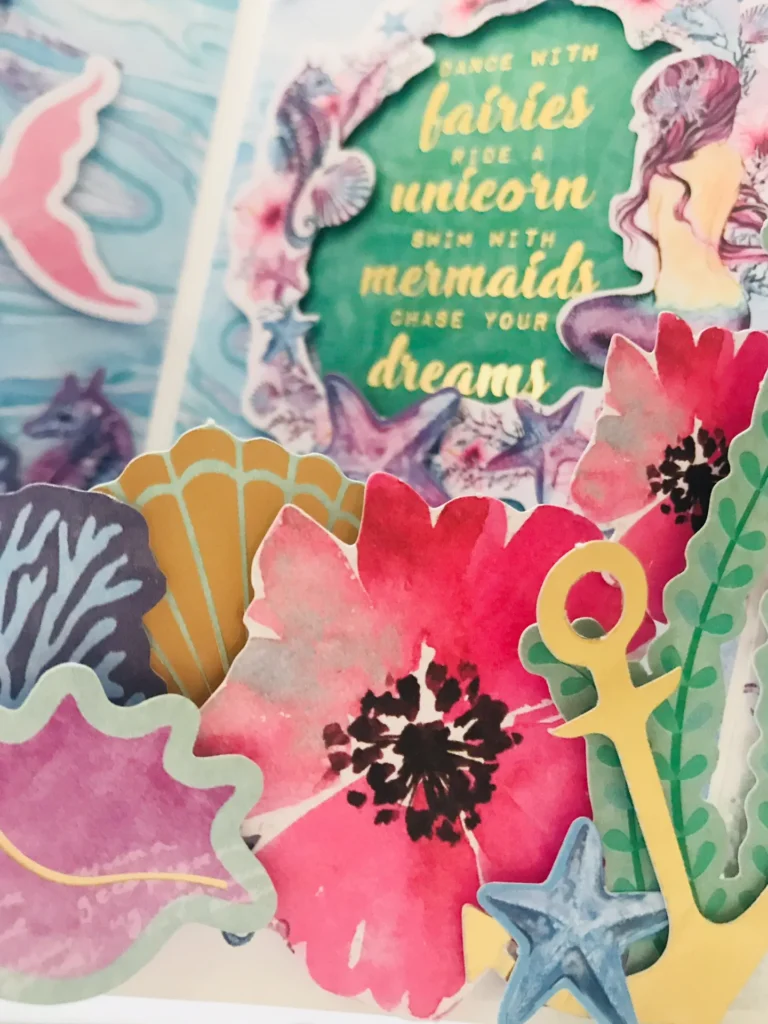
- The fun part – Decorate the inner and outer your card using your ephemera/ die cuts!
- Use different height mounting foam to give dimension and depth to your layering.
- Adhere some to the front pop out piece and some to the background – you can also hang some using clear acetate (plastic)
Step Eight:
- Go hug your cat and pour some prosecco because you lovely lady are done! ..I bet it looks fantastic, well done!
Here are some more pics of my complete card – I love this bright mermaid collection!: