Looking for a unique card idea that can double as a gift box too?.. I present to you the easel drawer card!
This card is a great idea especially when giving small presents such as jewellery or gift cards!
It may look intimidating at first, but I assure you using the below instructions you can whip one of these up in no time!
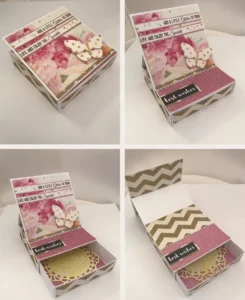
Below are step by step instructions of how to make each component which I have mocked up in paper for this tutorial (alongside pics of each element of my real finished product for comparison)
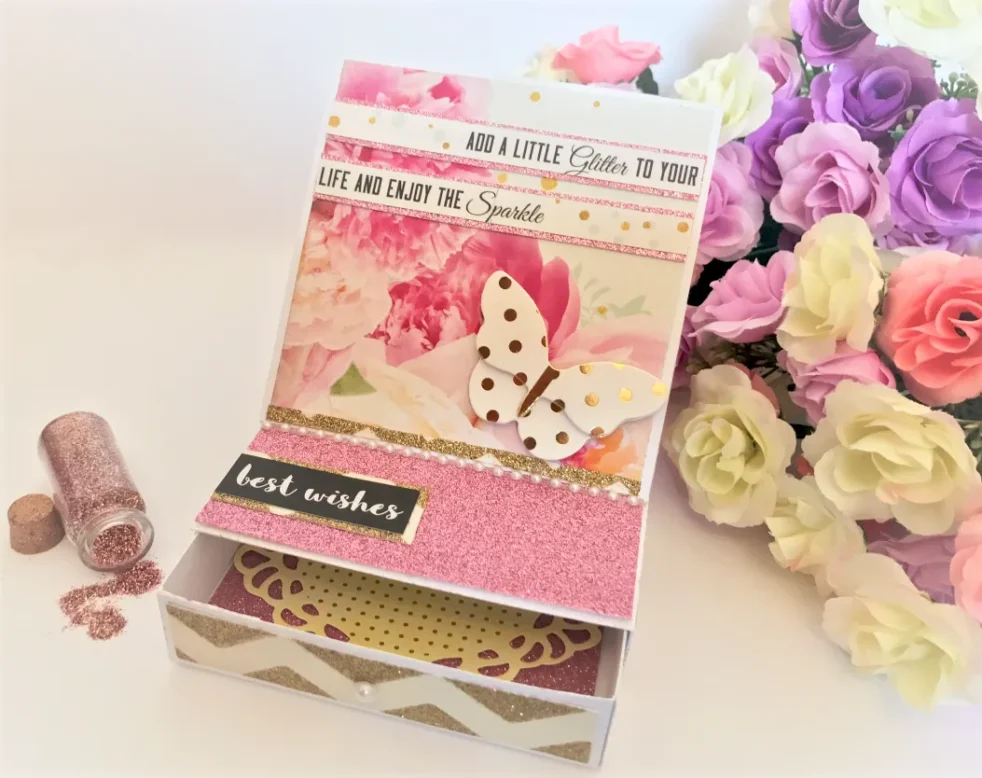
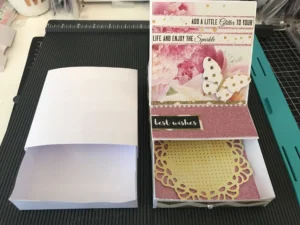
For my finished product pictured I used Kaisercraft White premium cardstock, decorated with gold zig zag paper and wording from the past Kaisercraft collection ‘All That Glitters’, along with some pink glitter card. The butterfly was a leftover from my stash (I believe from the reject shop, which is great place to pick up crafting odds and ends!)
For this project you will need:
- 2 x sheets of 30x30cm or 3 x sheets of A4 card stock (preferably above 240gsm)
- A scoring board
- A cutter or scissors
- A strong glue
- Decorative papers and embellishments
- A glass of champagne (some may say this is optional.. I say essential..)
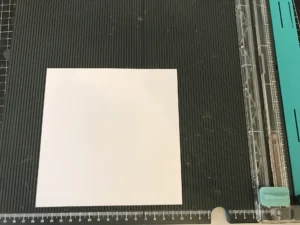
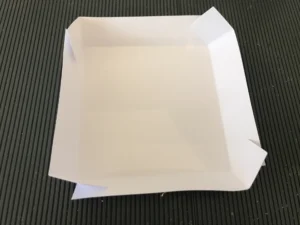
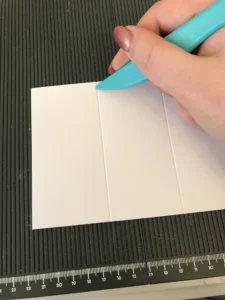
Step 1 – The Drawer:
- Cut 1 piece of your cardstock to a square 16x16cm
- Score your square at 2.5cm on all 4 sides
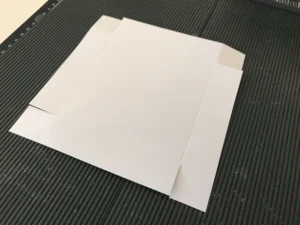
- Cut down one score of each corner (alternating direction as shown in the below image) to create ‘flaps’ which will fold and join your ‘drawer’ together.
- Fold and burnish all score lines
- Glue your flaps in place creating 4 even/ aligned sides and corners for your drawer

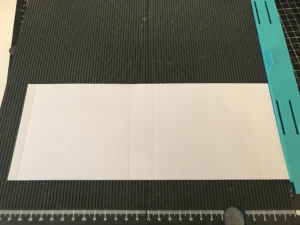
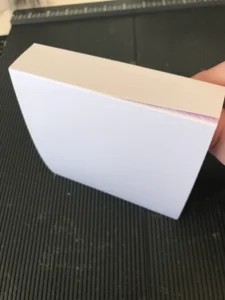
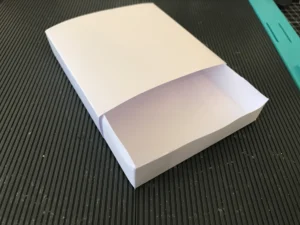
Step 2 – The Drawer Enclosure
- Cut a piece of cardstock to 11x28cm
- In landscape position on your scoreboard, score across this card at at 2.5cm, 13.5cm, 16cm and 27cm.
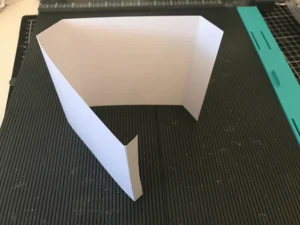
- Fold each score outwards
- Apply glue to the outside of the small (1cm) end flap and align it with the inner of the joining side and press together
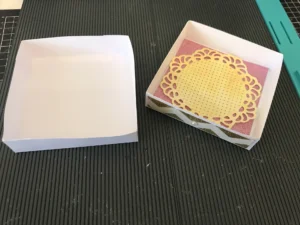
- Your can now insert your Drawer into its enclosure
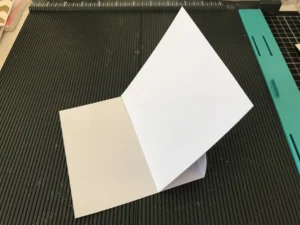
Step 3 – The Folding Easel:
- Cut a piece of cardstock to 11 x 21.5cm
- Score at 11cm and 16cm
- Fold and burnish the score lines outwards

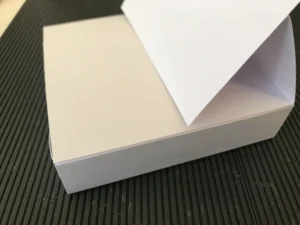
Step 4 – The Main Display Card
- Cut a piece of cardstock to a square 11 x 11cm
- Adhere this piece of card to the outer folded section of your easel piece (as shown below)
- Align the bottom of your square card with the bottom of the folded section of easel.
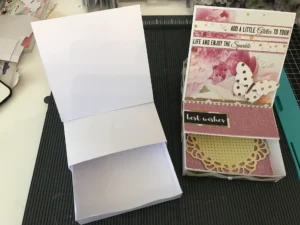
Step 5 – Finale
Simply adhere the bottom of your easel piece to the top of your drawer enclosure (the two should align perfectly, if any of the easel base overhangs simply trim away the excess)
Well done! Now decorate your card/ drawer as you like – I suggest putting something raised such as stick on jewels or pearls about half to two-thirds of the way down the length of the top of your drawer to help the easel card stay in place when displayed.
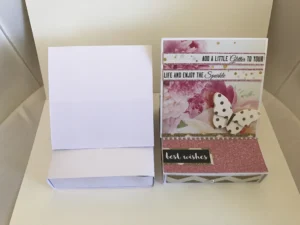

Here is my finished Easel Drawer Card!
..I hope yours turns out even better! xoxo
