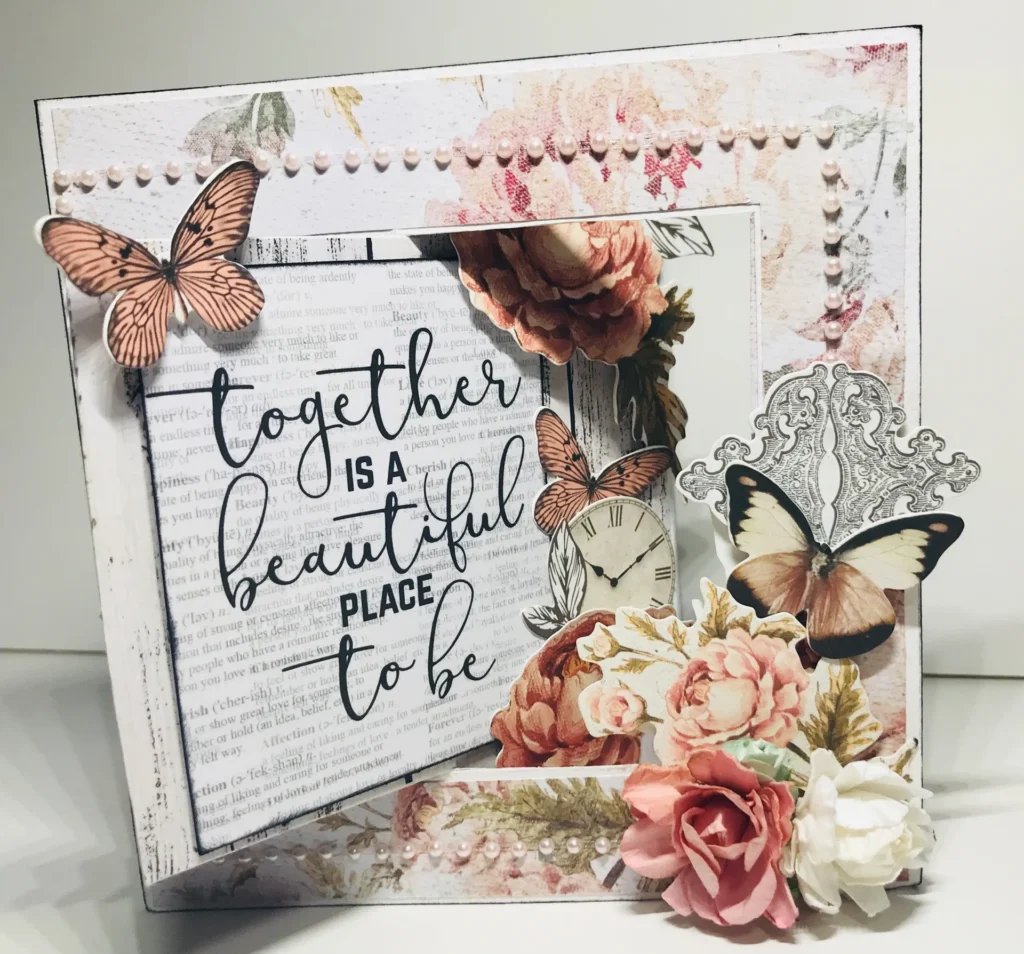
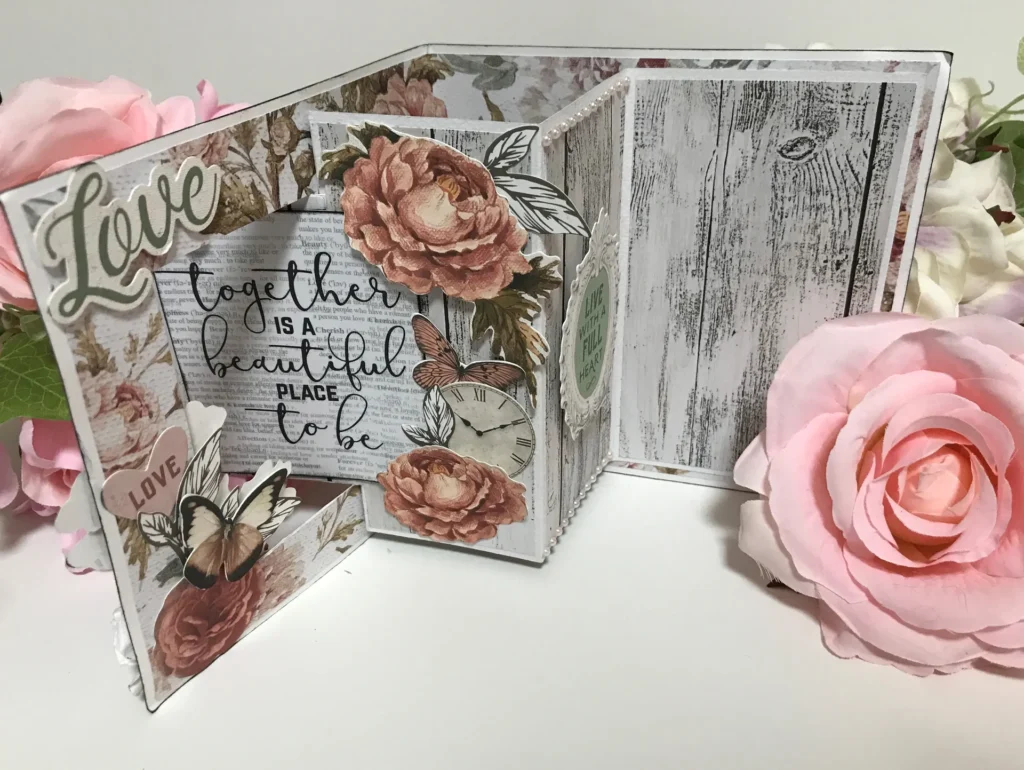
After recently posting a picture of a wedding card I made.. many of you wanted to know how to make one yourselves!
It’s actually quite a simple card but looks really effective once decorated.. It folds completely flat to fit in an envelope, and looks gorgeous displayed on a shelf!
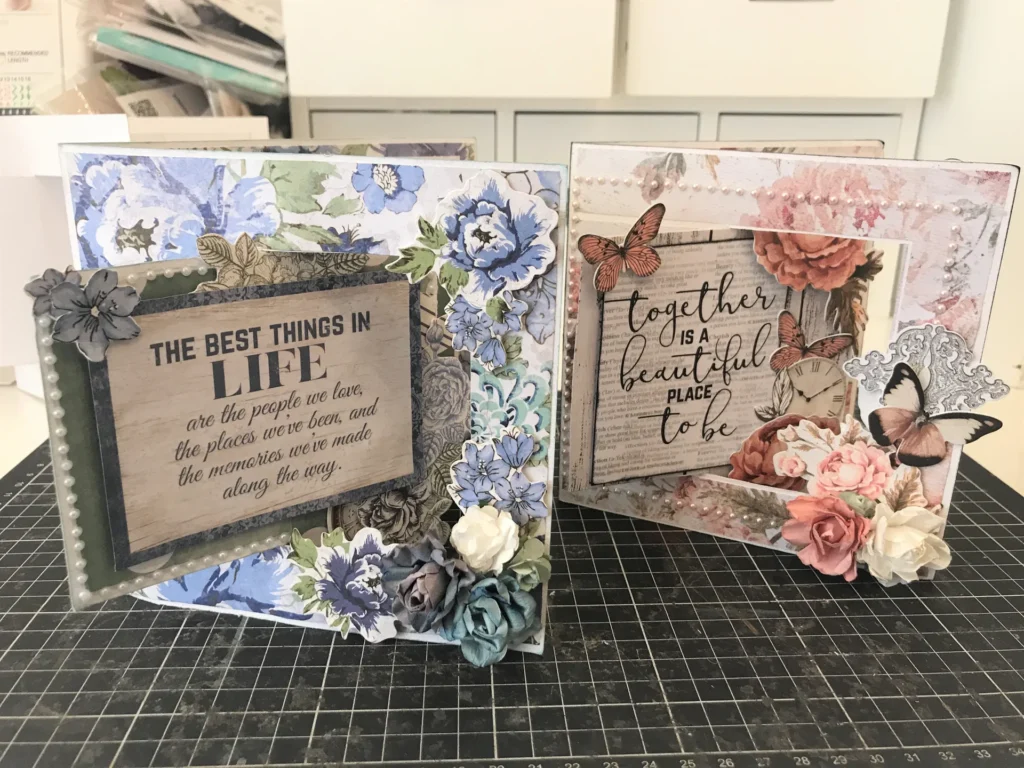
Here is the tutorial for this beautiful card!
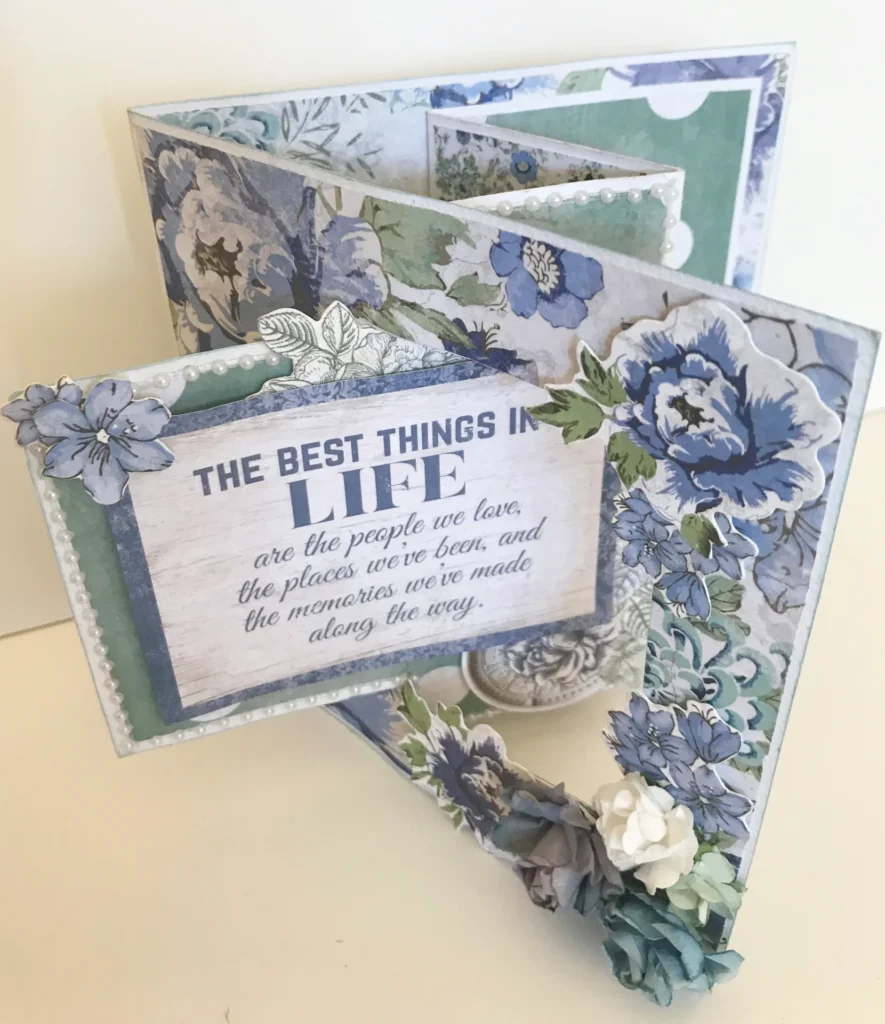
You can easily adjust the sizing to suit any sized card using the same technique.
My cards pictured below were made using Kaisercraft C601 white card, with papers and die cuts from the Kaisercraft collections Sage & Grace and Wandering Ivy.

For this project you will need:
- 1 x Sheet of 30x30cm cardstock
- Cutter/ Scissors
- Scoring Board
- Glue
- Decorative papers
- Ephemera/ embellishments
Ready?.. Here We Go!..
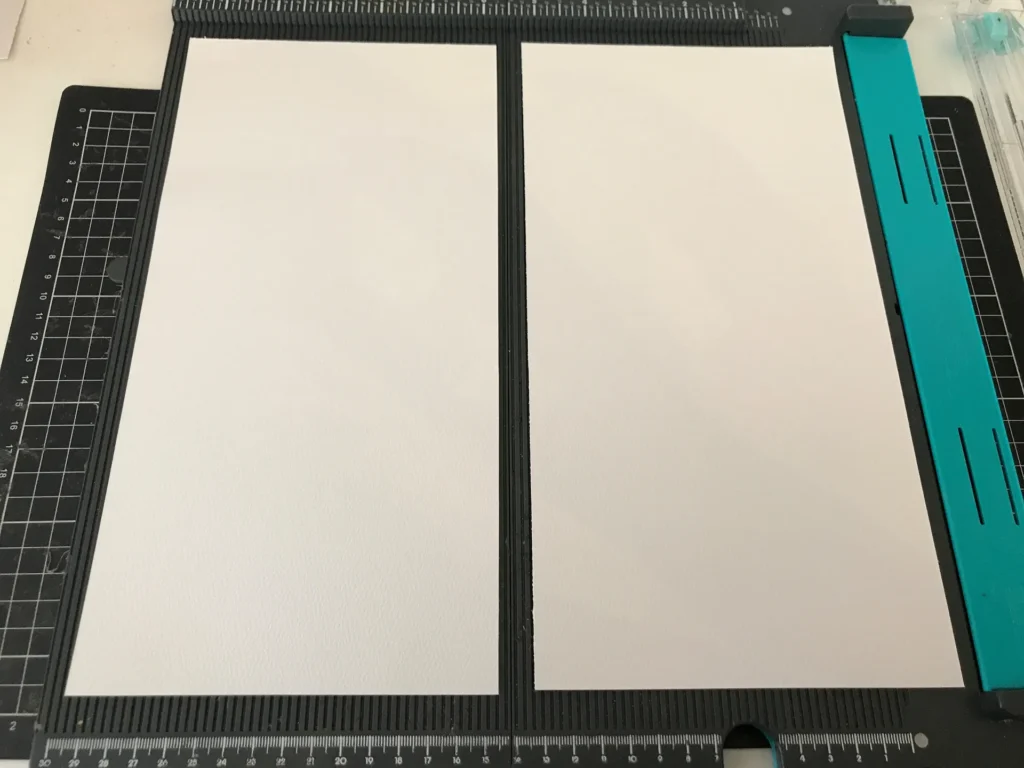
Step 1:
- Take your piece of 30x30cm card and cut it in half
- Take one half, place it in a landscape direction and score vertically at 15cm.
- Fold the score line and this piece is now your outer card section.


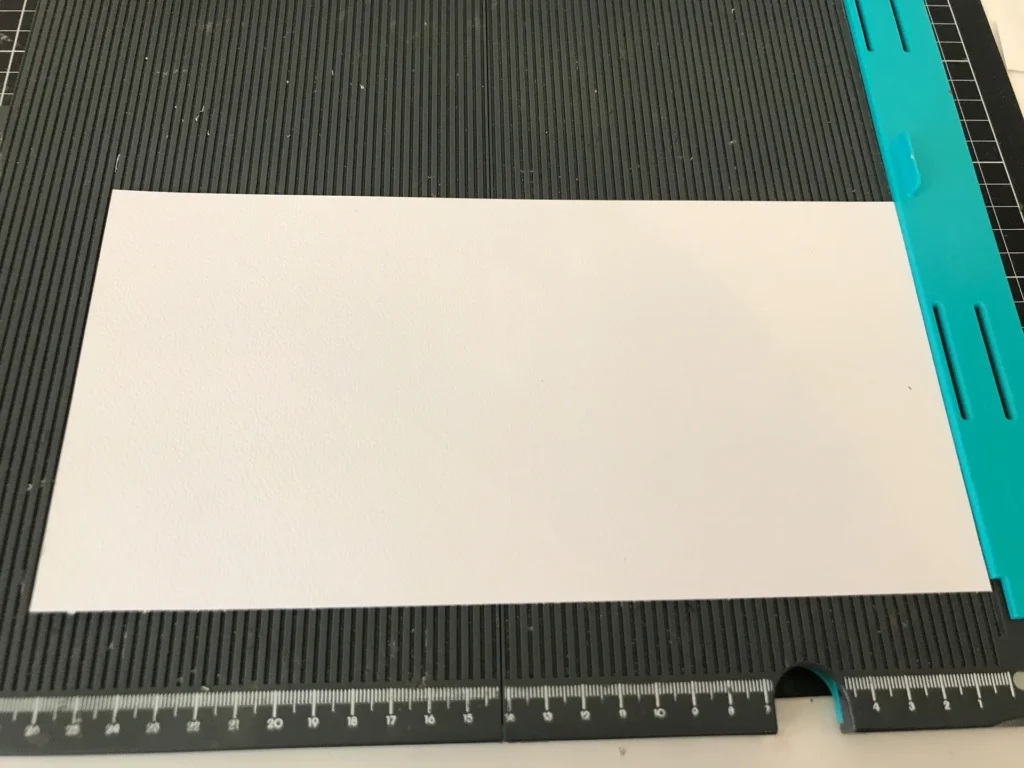
Step 2:
- Take the other half of the card you cut earlier
- Cut the length down to 26.5cm, and the width to 13.5cm
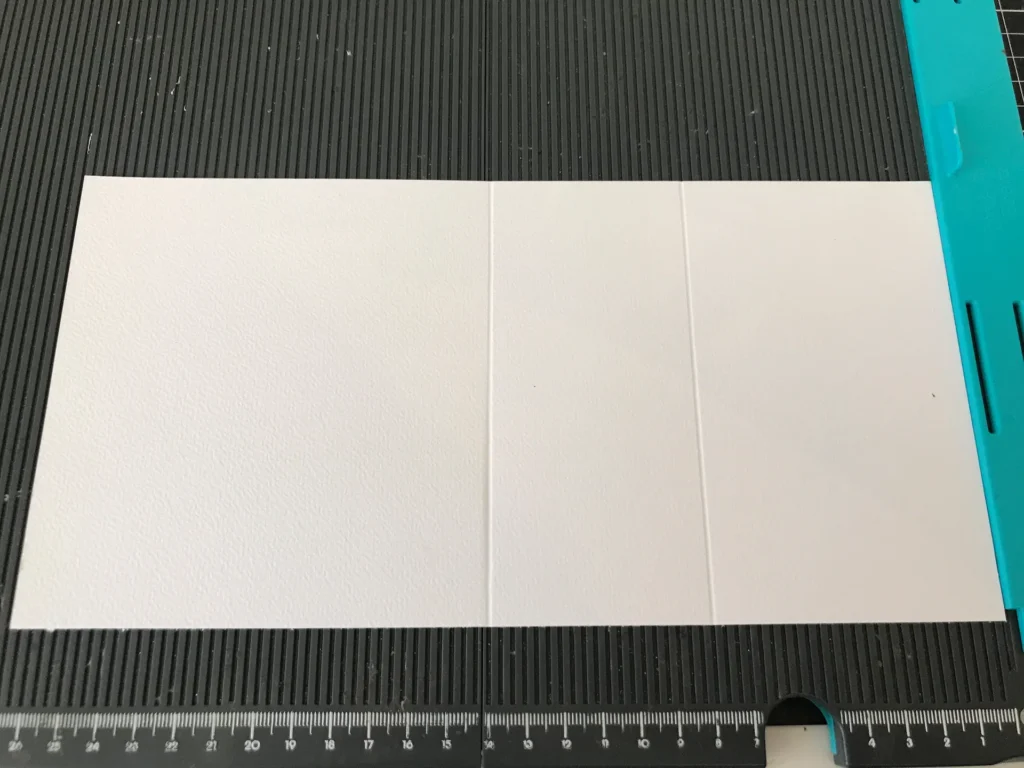
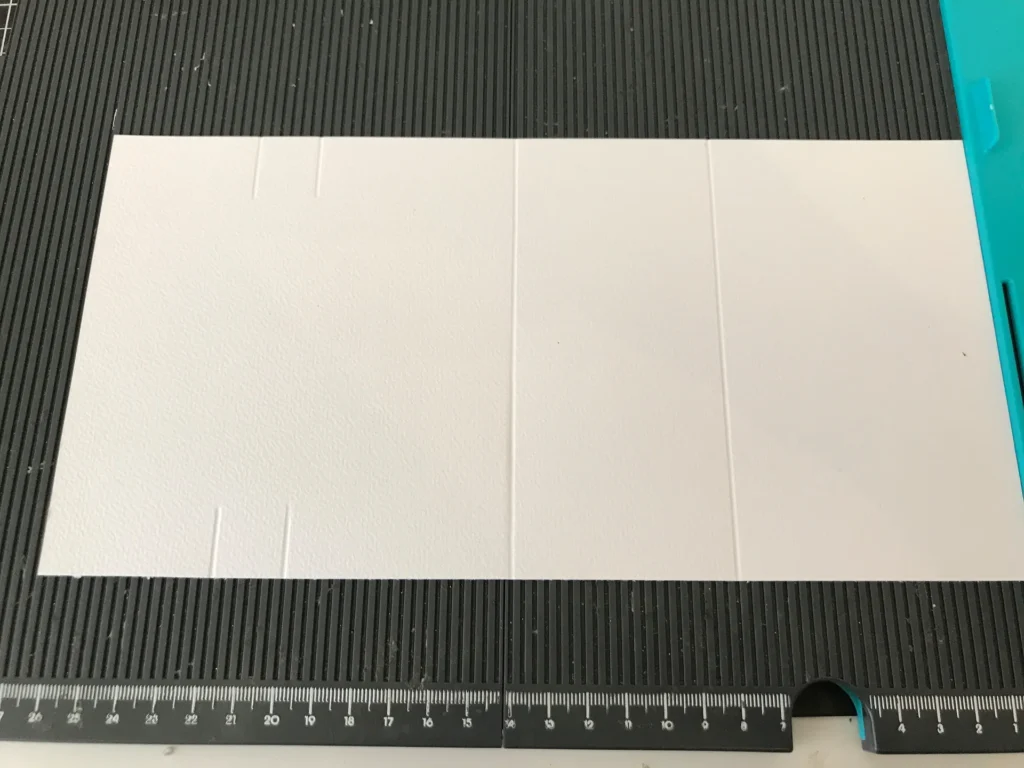
Step 3:
- Place the card in a landscape direction and score vertically at 8cm and 14cm.
- at 20cm, score the card 2cm from the top and bottom
- Repeat the 2cm score at 22cm
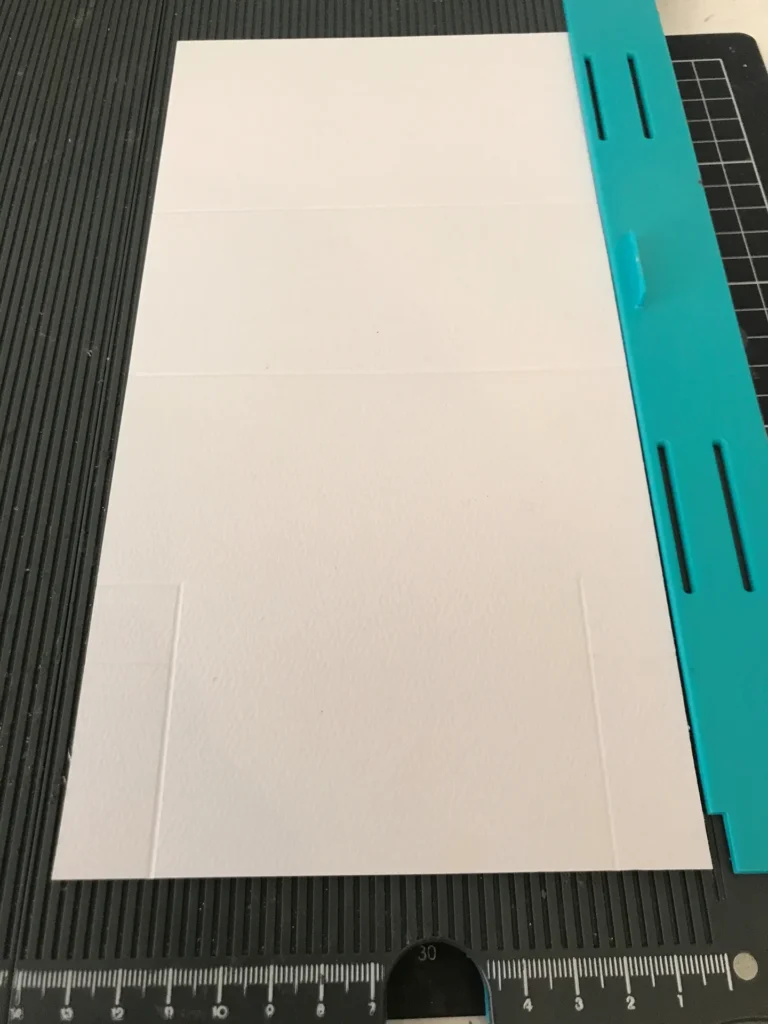
Step 4:
- Rotate your card into a portrait layout
- Score vertically up to the 20cm score line at 2cm and 11.5cm
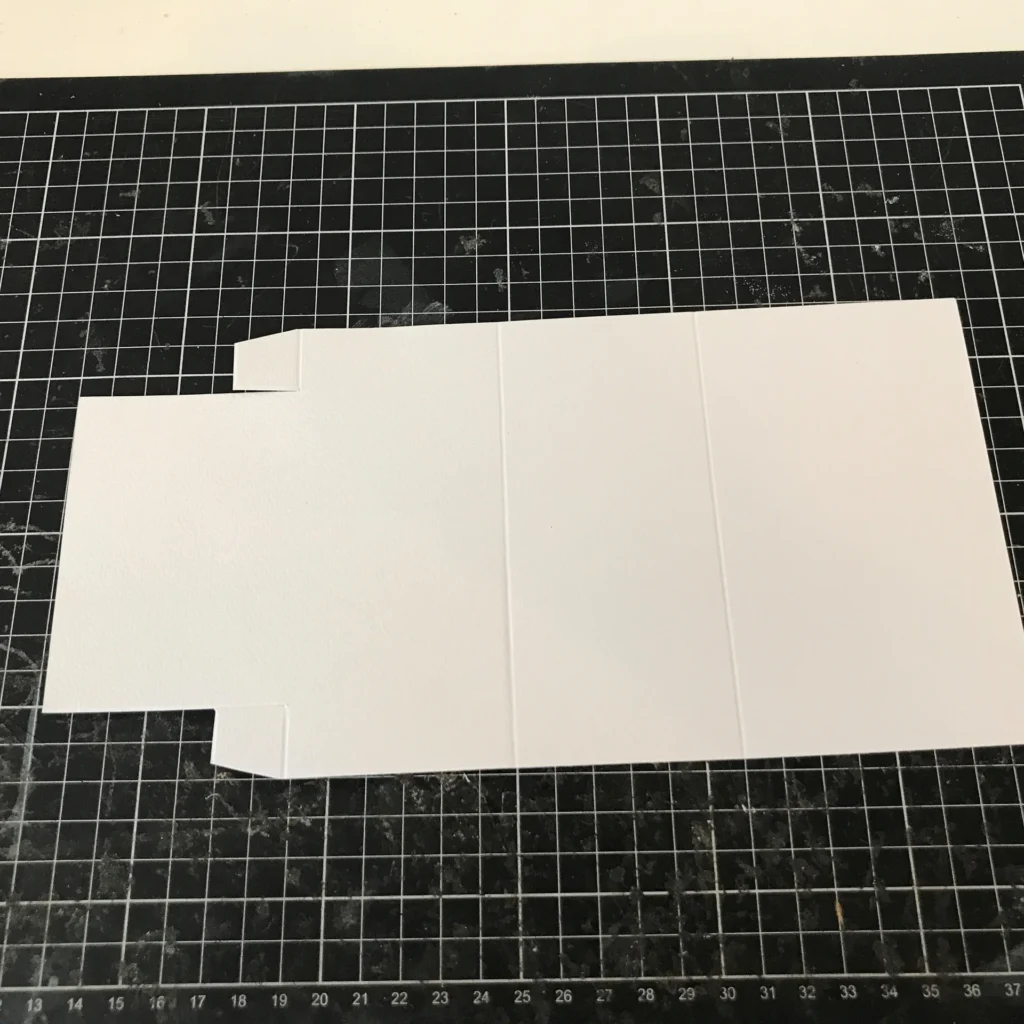
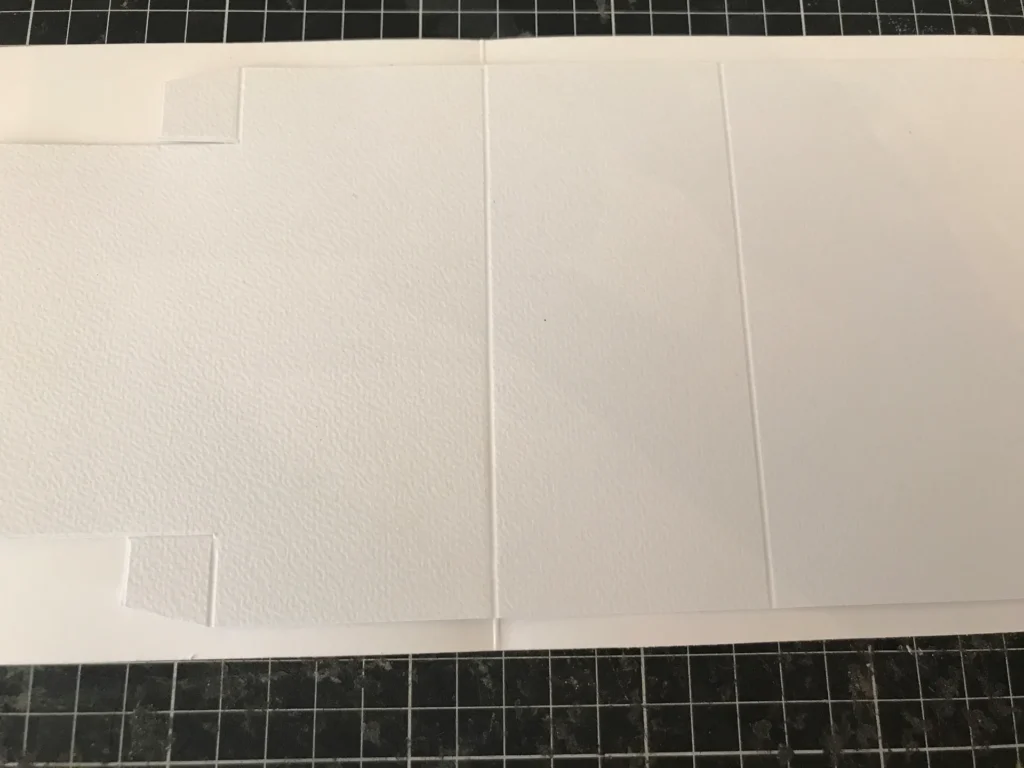
Step 5:
- Cut away the two outer rectangles, extending the cut along the 2cm score line to release the sides of the 2cm ‘flaps’
- Slightly taper the outside of the flaps (so they wont be visible once the card is stuck together)
Step 6:
- Place the scored card over the inside of your outer card.
- Ensure the 14cm score line is lined up with the centre score of your outer card
- Tuck the two flaps underneath so they are no longer visible
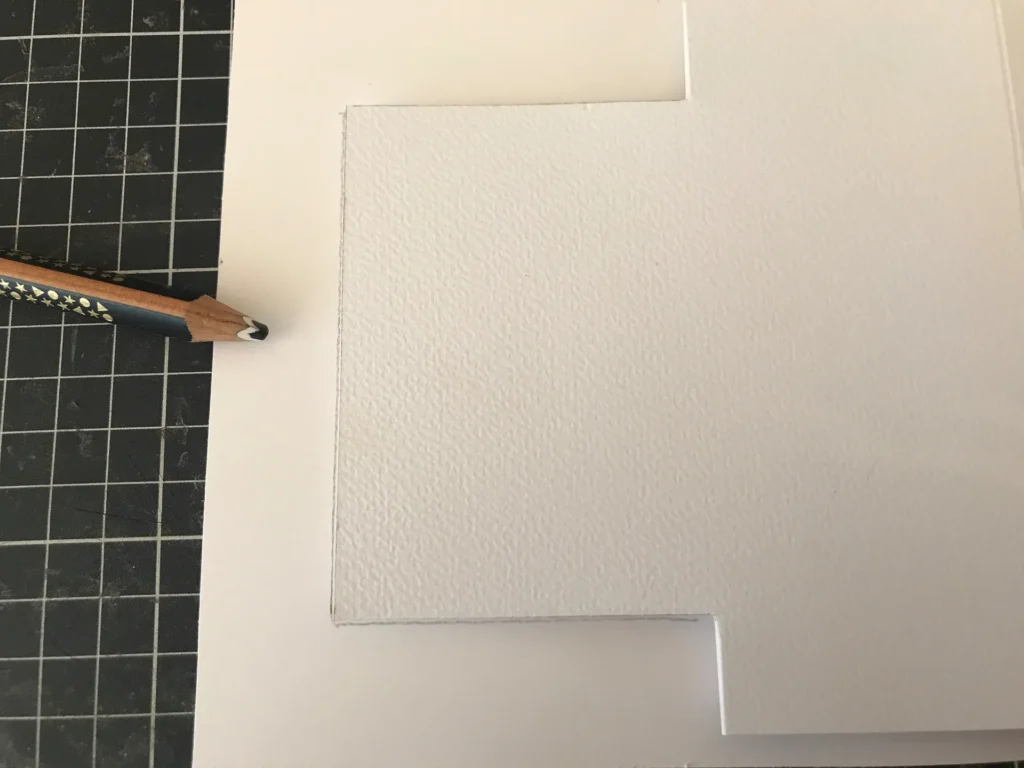
- Trace around the edge of the end smaller piece of the scored section of card onto the inside of your outer card
- Join your rectangle up on the fourth side and cut out this traced section (hint: Cut the vertical line closest to the outside edge of the card about 0.5cm smaller than where you traced it if you do not want any gaps when the card is closed)
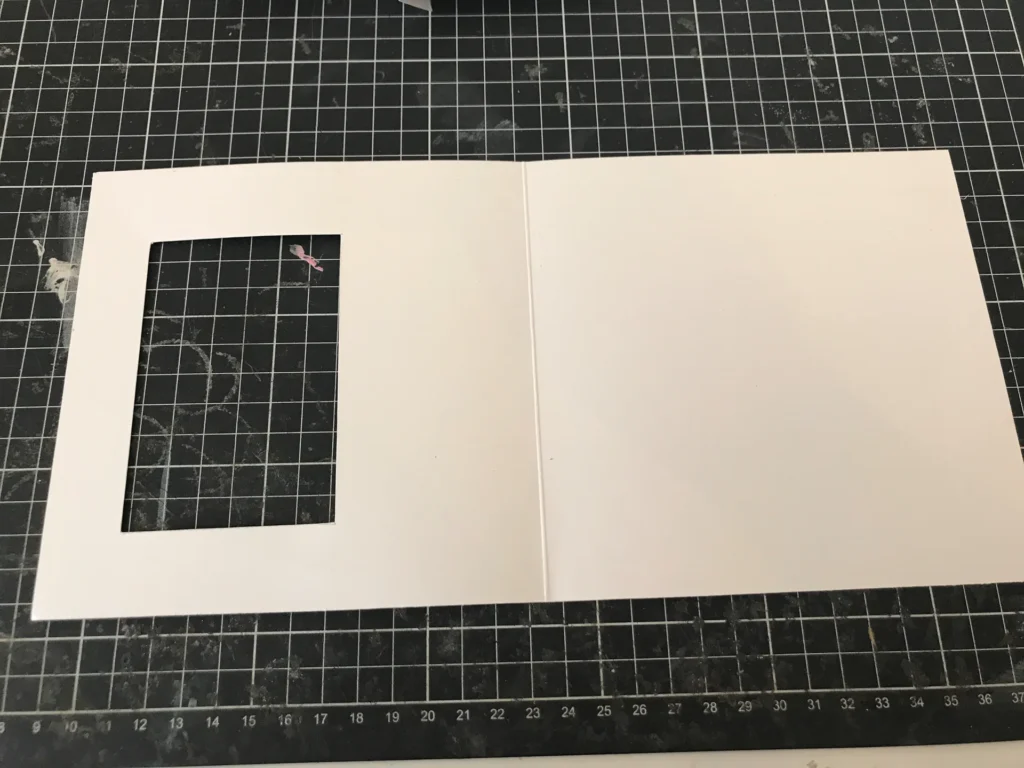
Step 7:
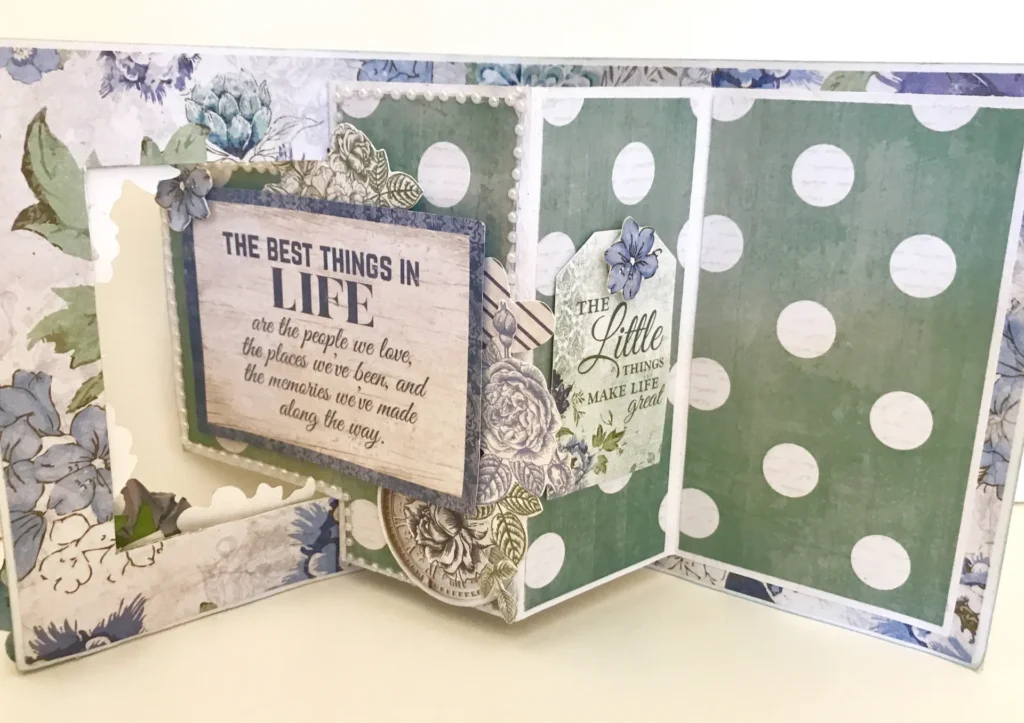
- You should now be able to see how your card sits together – Apply your decorative papers to each section before joining the card together.
- (Hint: cut your decorative papers about a 1/2cm smaller than each card section to create a really layered look effect)
Step 8:
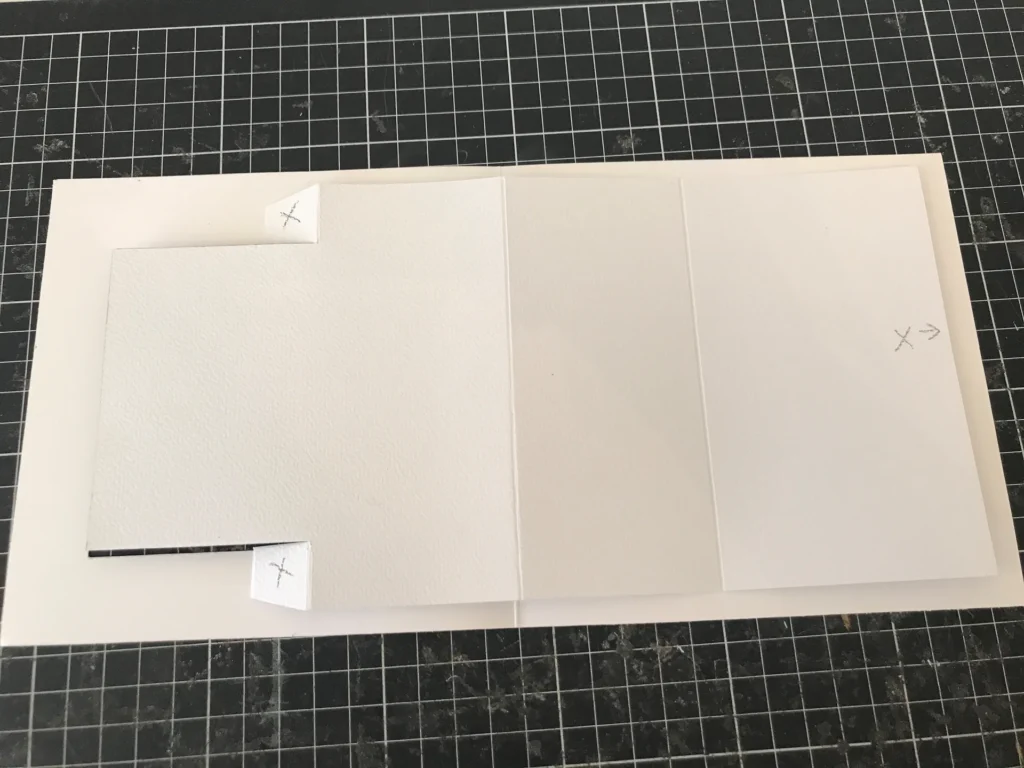
- Fold the scored section: 8cm score line – Valley, 14cm score line – Mountain, 20cm score line – Mountain (so the flaps sit underneath)
- Apply glue to the outside of the two ‘flap’ sections, and to the rear of the 8cm scored section (hint: glue areas marked with an ‘X’ below)
- Ensure the 14cm score line is aligned with the centre score of the outer card, then press down to adhere
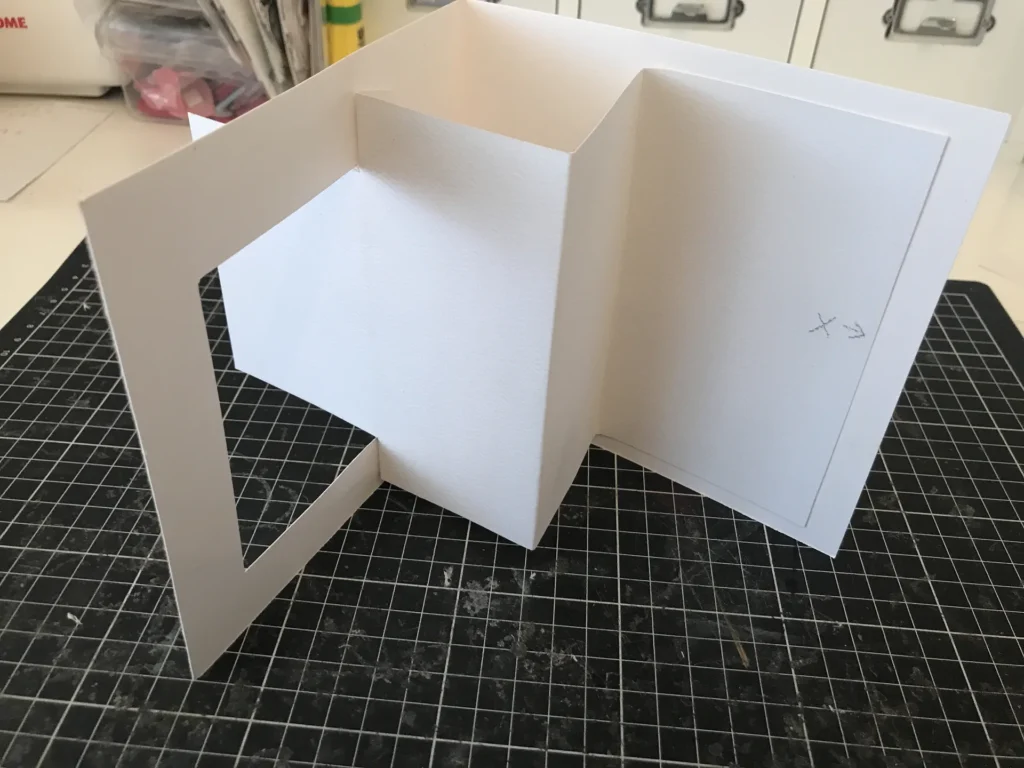
Step 9:
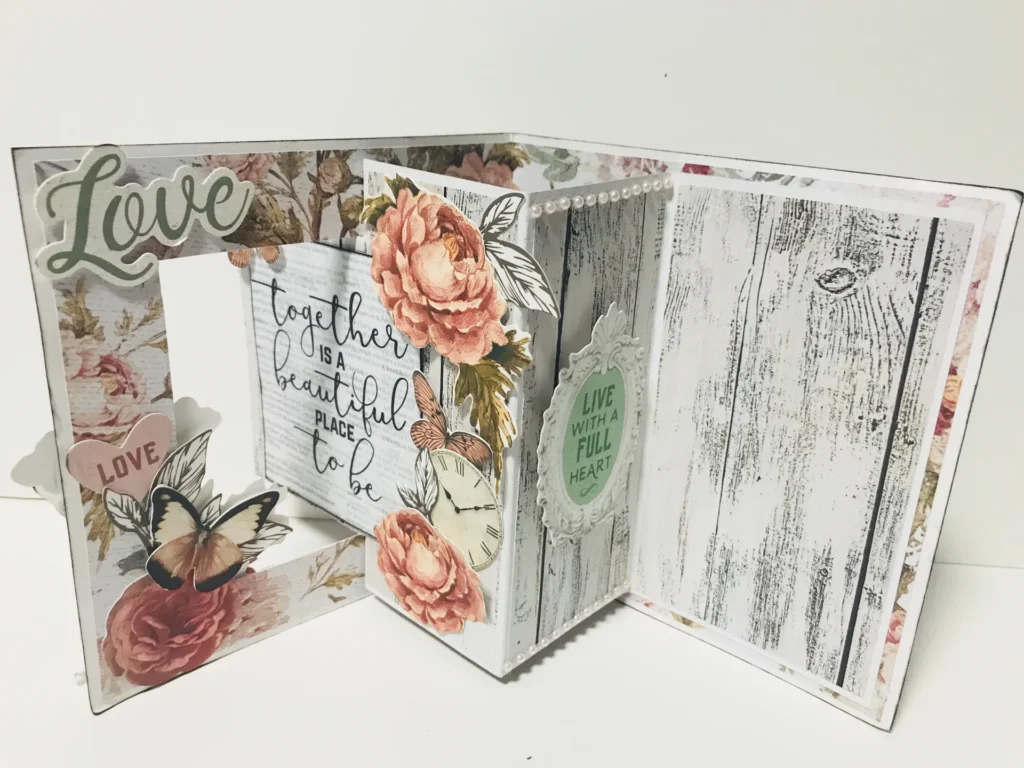
- Decorate the card as you like using ephemera, quotes and embellishments!
Step 10:
Ta-Da!! – Now give that beautiful card to someone you love!